
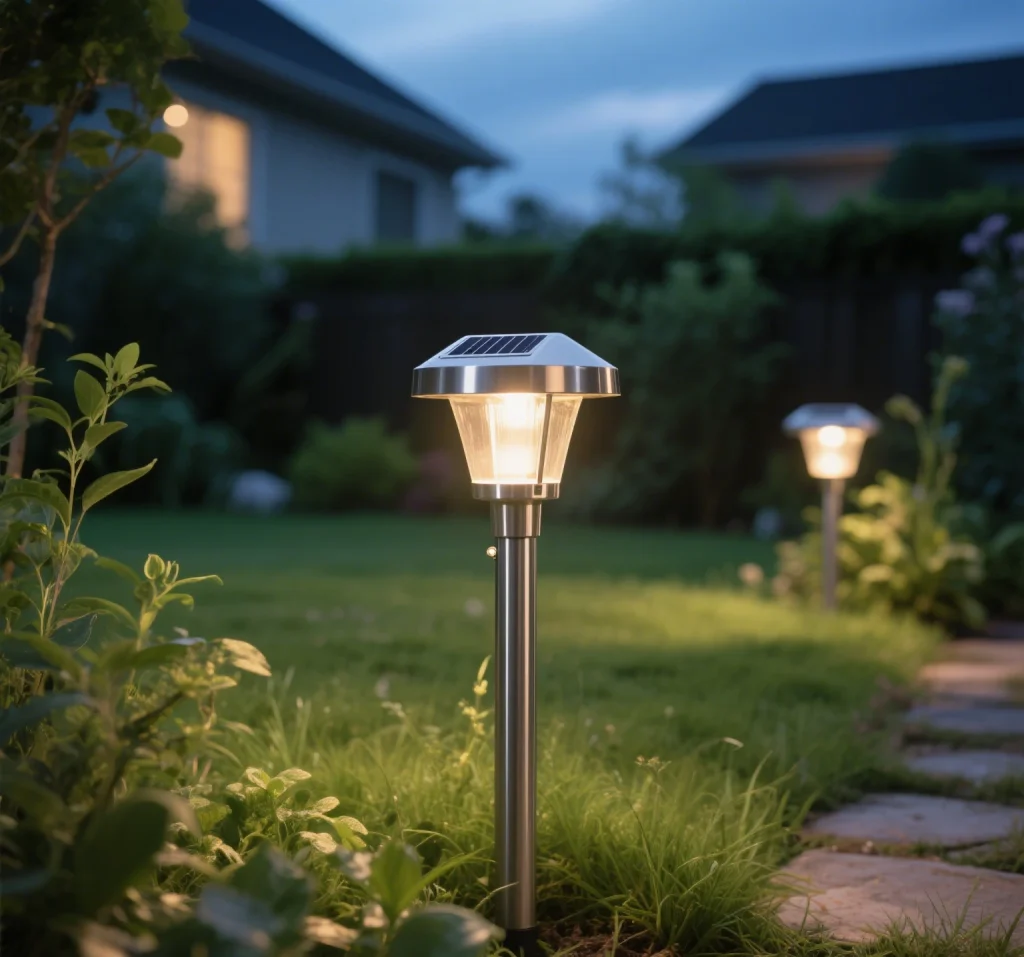
Outdoor solar lights are an eco-friendly and cost-effective way to illuminate your garden, pathways, or driveway, harnessing solar energy to power solar LED lights without increasing electricity bills. However, like any technology, solar-powered outdoor lighting can encounter issues, such as failing to turn on, dimming, or flickering. If your outdoor solar lights stop working, don’t rush to replace them. This comprehensive guide walks you through common problems, troubleshooting steps, and practical solutions to restore your solar lighting system to full functionality.
Common Reasons Outdoor Solar Lights Stop Working
Understanding why your solar outdoor lighting fails is the first step to fixing it. The most frequent issues include:
- Dirty Solar Panels: Dust, dirt, or debris on solar panels can block sunlight, reducing energy capture.
- Depleted or Faulty Batteries: Rechargeable batteries degrade over time, typically lasting 2–5 years in solar garden lights.
- Water Damage: Poorly sealed components can allow moisture to damage the circuitry or battery compartment.
- Faulty Wiring or Connections: Loose or corroded wires in the solar lighting system can disrupt power flow.
- Malfunctioning Sensors: A faulty photoresistor or motion sensor may prevent solar motion sensor lights from activating.
- Broken LED Bulbs: Though durable, solar LED lights can burn out or become loose in their sockets.
- Improper Placement: Solar panels in shaded areas may not receive enough sunlight to charge effectively.
A 2024 study on solar photovoltaic systems found that 60% of solar light failures are due to battery or panel issues, making these the best places to start troubleshooting.
Step-by-Step Guide to Fixing Outdoor Solar Lights
Step 1: Inspect and Clean the Solar Panel
A dirty solar panel can significantly reduce charging efficiency. Dust, bird droppings, or leaves can block up to 20% of sunlight, according to solar energy research. To clean:
- Turn off the light (if it has a manual switch) to avoid electrical issues.
- Gently wipe the solar panel with a soft cloth and warm, soapy water. Avoid abrasive materials to prevent scratches.
- Rinse with clean water and dry thoroughly.
- Ensure the panel is free of obstructions like overhanging branches or structures.
After cleaning, place the light in direct sunlight for a full day to test if charging improves. For optimal performance, position solar panels at an angle equal to your location’s latitude (e.g., 40 degrees for many U.S. regions) to maximize solar energy capture.
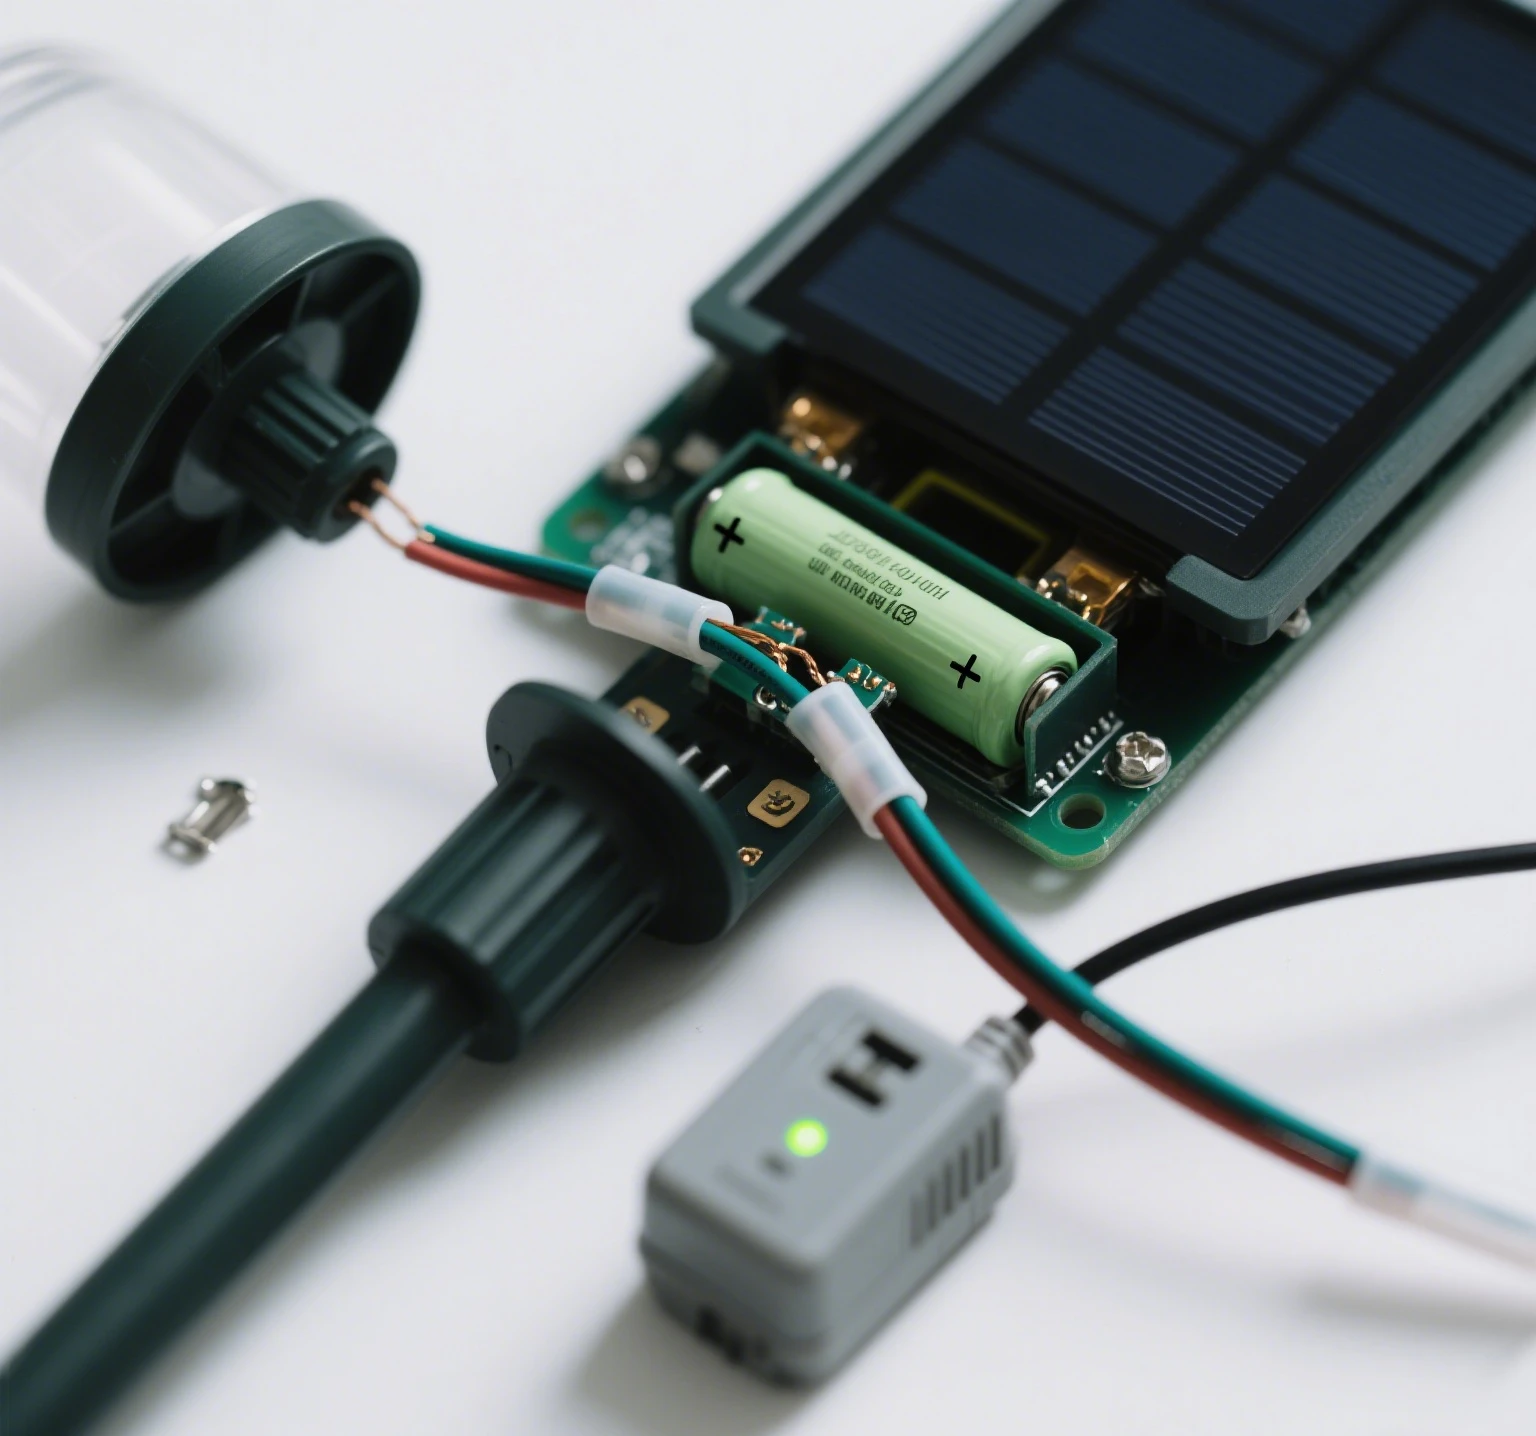
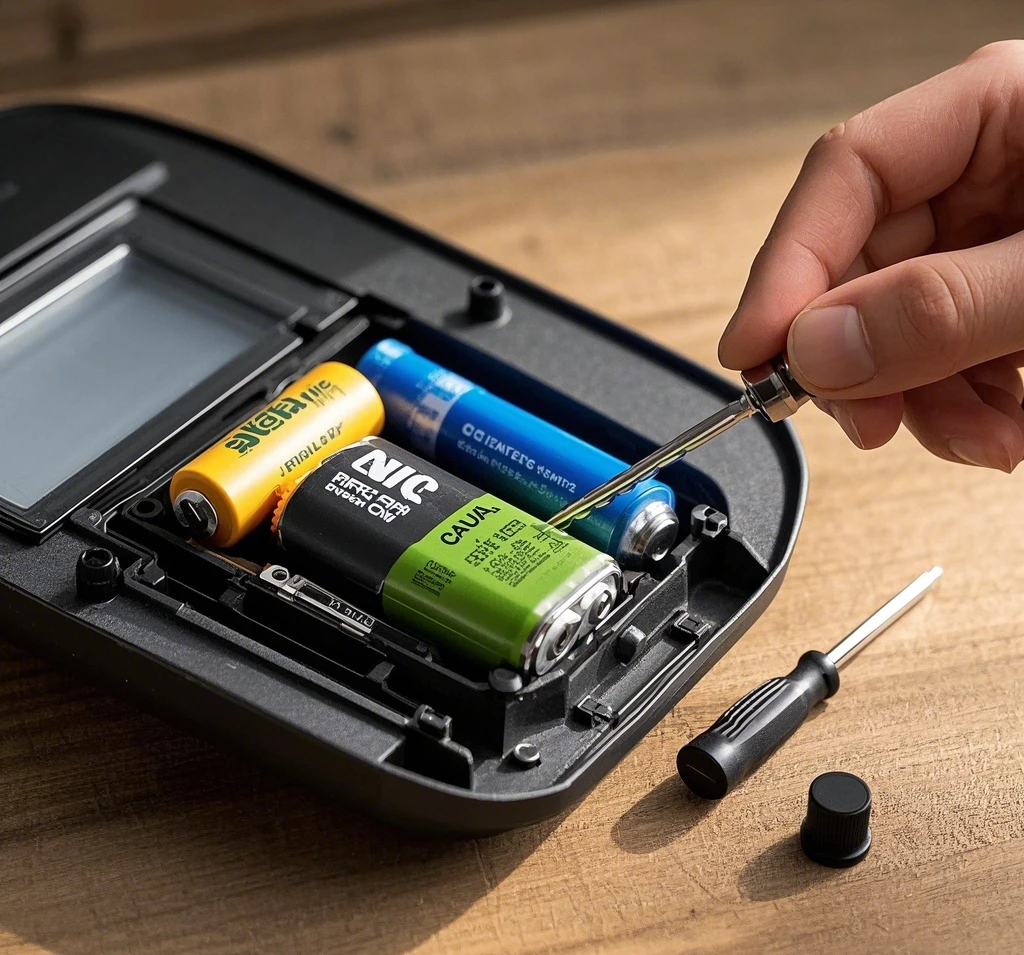
Step 2: Check and Replace the Battery
The battery is often the culprit when outdoor solar lights stop working. Most solar garden lights use AA or AAA nickel-metal hydride (NiMH) batteries, while solar security lights may use lithium-ion batteries. To check and replace:
- Open the battery compartment, typically located near the solar panel or light fixture.
- Inspect for corrosion or leaks. Clean any corrosion with a cotton swab and vinegar, then dry thoroughly.
- Test the battery’s voltage with a multimeter. NiMH batteries should read around 1.2V when fully charged; lithium-ion batteries should read 3.7V.
- If the battery is dead or holds less than 50% capacity, replace it with a new rechargeable battery of the same type and voltage. For example, a 2000mAh NiMH AA battery is suitable for most solar pathway lights.
- Avoid using regular batteries, as they are not designed for solar lighting systems and may cause damage or safety hazards.
Rechargeable batteries typically last 500–1000 cycles (2–5 years). If you’re replacing batteries frequently, consider upgrading to high-capacity NiMH or lithium-ion batteries for better longevity.
Step 3: Test the Solar Panel
If cleaning doesn’t help, the solar panel itself may be faulty. To test:
- Use a multimeter to measure the panel’s output in direct sunlight. A functioning 1.2V panel should produce 1.5–2V in bright conditions.
- If the output is low or zero, the panel may be damaged or disconnected. Check for loose wires or cracked surfaces.
- For minor issues, tighten connections or re-solder wires if you’re comfortable with electronics. For severe damage, replace the panel with a compatible model from the manufacturer or a trusted brand like Bitpott.
Step 4: Inspect Wiring and Connections
Loose or corroded wiring can disrupt the solar lighting system. Check all connections between the solar panel, battery, and solar LED lights:
- Look for frayed or broken wires, especially in solar motion sensor lights exposed to weather.
- Clean corroded terminals with a wire brush or sandpaper.
- Secure loose connections with weatherproof connectors or electrical tape to prevent future moisture damage.
If wiring is extensively damaged, consider replacing the light or consulting a professional for complex solar-powered outdoor lighting systems.
Step 5: Test the Light Sensor or Motion Sensor
If your solar outdoor lights don’t turn on at night, the photoresistor or motion sensor may be faulty. To test:
- Cover the solar panel or photoresistor with a dark cloth during the day to simulate nighttime. If the light doesn’t activate, the sensor may be defective.
- For solar motion sensor lights, walk within the detection range (typically 10–30 feet) to check responsiveness. Adjust the sensor’s sensitivity if possible.
- If the sensor is malfunctioning, replace it with a compatible part or contact the manufacturer for a replacement unit.
Some solar security lights allow sensor calibration via a dial or app, improving performance without replacement.
Step 6: Check the LED Bulb
Though solar LED lights are durable, they can fail over time. To diagnose:
- Remove the bulb (if replaceable) and check for visible damage or loose connections.
- Test with a new solar LED bulb of the same wattage and voltage (e.g., 1W, 12V for most solar pathway lights).
- If the bulb is integrated, the entire light fixture may need replacement, as many budget solar garden lights have non-replaceable LEDs.
Step 7: Verify Placement and Environmental Factors
Improper placement can cause outdoor solar lights to underperform. Ensure the solar panel receives 6–8 hours of direct sunlight daily. Avoid shaded areas under trees, eaves, or buildings. In winter, adjust the panel angle to capture lower-angle sunlight, as recommended by a 2023 solar energy study.
Additionally, extreme weather can affect performance. Solar-powered lights with an IP65 or higher rating are best for rainy or snowy climates. If water has entered the battery compartment, dry it thoroughly and seal any gaps with silicone sealant to prevent future damage.
Preventive Maintenance Tips for Outdoor Solar Lights
To avoid future issues with your solar outdoor lighting:
- Clean Regularly: Wipe solar panels monthly to maintain efficiency. A clean panel can improve charging by up to 25%.
- Check Batteries Annually: Replace rechargeable batteries every 2–5 years or when they no longer hold a charge.
- Seal Components: Use weatherproof sealant around battery compartments and connections to protect against moisture, especially for solar security lights.
- Store in Winter: In regions with limited winter sunlight, store solar garden lights indoors to extend battery life.
- Choose Quality Brands: Invest in reputable brands like Bitpott for durable solar lighting systems with reliable components.
Unique Troubleshooting Tips
For a creative fix, try resetting the solar lighting system. Some solar motion sensor lights have a small reset button or require disconnecting the battery for 10 minutes to recalibrate the circuitry. This can resolve minor software glitches in smart solar-powered outdoor lighting.
Another innovative approach is to use a portable solar battery charger to pre-charge batteries before reinstalling them. This DIY trick, popular in online solar communities, can revive solar pathway lights during cloudy periods when panels struggle to charge.
When to Replace Instead of Repair
If troubleshooting doesn’t restore your outdoor solar lights, replacement may be more cost-effective. Consider replacing if:
- The solar panel or circuitry is irreparably damaged.
- The light fixture is cracked or heavily corroded.
- The cost of repairs exceeds 50% of a new light’s price (typically $20–$100 for solar garden lights or solar security lights).
When replacing, opt for models with high-efficiency solar panels (monocrystalline) and long-lasting lithium-ion batteries for better performance.
Environmental and Cost Benefits of Repairing Solar Lights
Fixing solar-powered outdoor lighting is environmentally and economically smart. Repairing a single light can save $30–100 compared to buying a new one, and proper maintenance extends the lifespan of solar LED lights by years. By using solar energy, you reduce reliance on fossil fuels, with a single solar garden light saving 40–60 kWh annually compared to a 60W incandescent bulb, per 2024 energy data.
Additionally, recycling faulty batteries or components through local programs minimizes e-waste, aligning with sustainable living goals.
Conclusion
Fixing outdoor solar lights that stop working is often straightforward with the right approach. By cleaning solar panels, replacing batteries, checking wiring, and ensuring proper placement, you can restore your solar lighting system to full functionality. Whether you’re troubleshooting solar garden lights, solar pathway lights, or solar motion sensor lights, these steps help you save money and reduce environmental impact. With regular maintenance and quality components, your solar-powered outdoor lighting can provide reliable, eco-friendly illumination for years. Start diagnosing your solar outdoor lights today to enjoy sustainable lighting once again.
Leave a Reply