
PIR sensor solar lights are a brilliant addition to any outdoor space—motion-activated, energy-efficient, and powered by the sun, they’re perfect for lighting up your driveway or scaring off nighttime critters. But what happens when that trusty sensor stops working? Maybe the light stays on all the time, refuses to turn on, or flickers like a confused firefly. Don’t toss it out just yet—fixing a PIR (Passive Infrared) sensor solar light is often easier than you think. In this guide, we’ll walk you through how these lights work, common issues with the PIR sensor, and step-by-step solutions to get them back in action. Whether you’re a DIY newbie or a seasoned tinkerer, you’ll find practical fixes here to save your light—and your wallet.
Let’s roll up our sleeves and get that sensor glowing again.
What Is a PIR Sensor and How Does It Work?
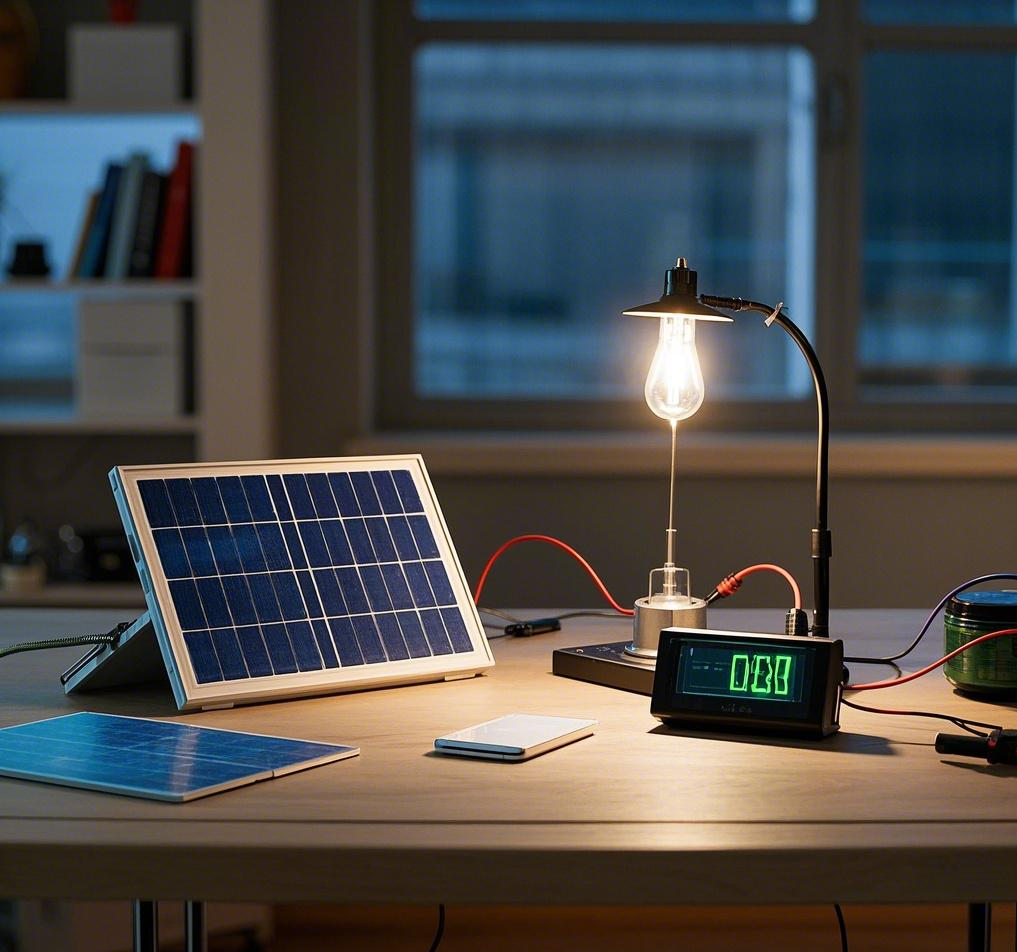
Before we dive into fixing, let’s break down what a PIR sensor does. PIR stands for Passive Infrared, and it’s the magic behind motion detection. The sensor picks up infrared radiation—essentially heat—emitted by moving objects like people, animals, or even a swaying branch. When it detects a change in heat patterns, it triggers the light to turn on. In a solar light, this is paired with a solar panel that charges a battery during the day, powering both the LED and the sensor at night.
The system sounds simple, but it’s a delicate dance of components: the solar panel, battery, PIR sensor, and light itself. If one part falters, the whole setup can go haywire. Common culprits include a faulty sensor, a drained battery, or even dirt throwing things off. Understanding this setup is key to pinpointing the problem.
Why Do PIR Sensor Solar Lights Fail?
PIR sensor issues can stem from a few usual suspects. Here’s what might be going wrong:
- Dirty Sensor: Dust, cobwebs, or grime can block the sensor’s view, stopping it from detecting motion.
- Battery Problems: A weak or dead battery can’t power the sensor or light properly.
- Solar Panel Issues: If the panel isn’t charging—due to shade, dirt, or damage—the system runs out of juice.
- Wiring Faults: Loose or corroded connections can disrupt the sensor’s operation.
- Settings Confusion: Adjustable settings (like sensitivity or timer) might be misconfigured.
- Sensor Damage: Water, extreme weather, or physical knocks can break the sensor itself.
Identifying the root cause is half the battle. Let’s tackle the fixes step by step.
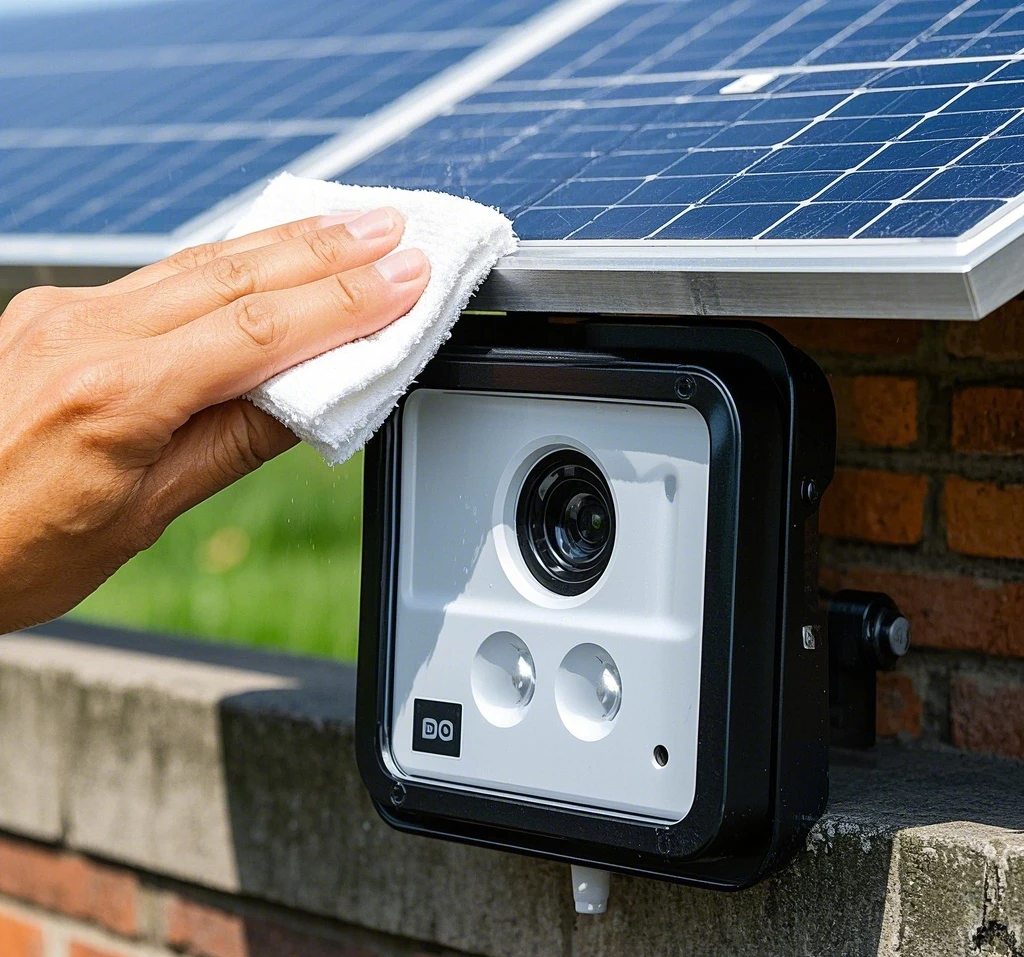
Step 1: Clean the PIR Sensor and Solar Panel
Start with the easiest fix—cleaning. A dirty sensor or panel is a sneaky problem that’s quick to solve.
- What You’ll Need: A soft cloth, mild soap, water, and maybe a small brush (like an old toothbrush).
- How to Do It: Dampen the cloth with soapy water and gently wipe the PIR sensor lens—usually a small, dome-shaped plastic piece on the light. Avoid harsh chemicals that could scratch it. Next, clean the solar panel to ensure it’s soaking up as much light as possible. Rinse with clean water and dry with a cloth.
- Test It: Place the light back in its spot, let it charge in sunlight for a few hours, and check if it responds to motion at night.
A real-world tip: One homeowner found their light wouldn’t turn on because a spider had set up camp over the sensor. A quick wipe fixed it instantly. Cleaning might just be your golden ticket.
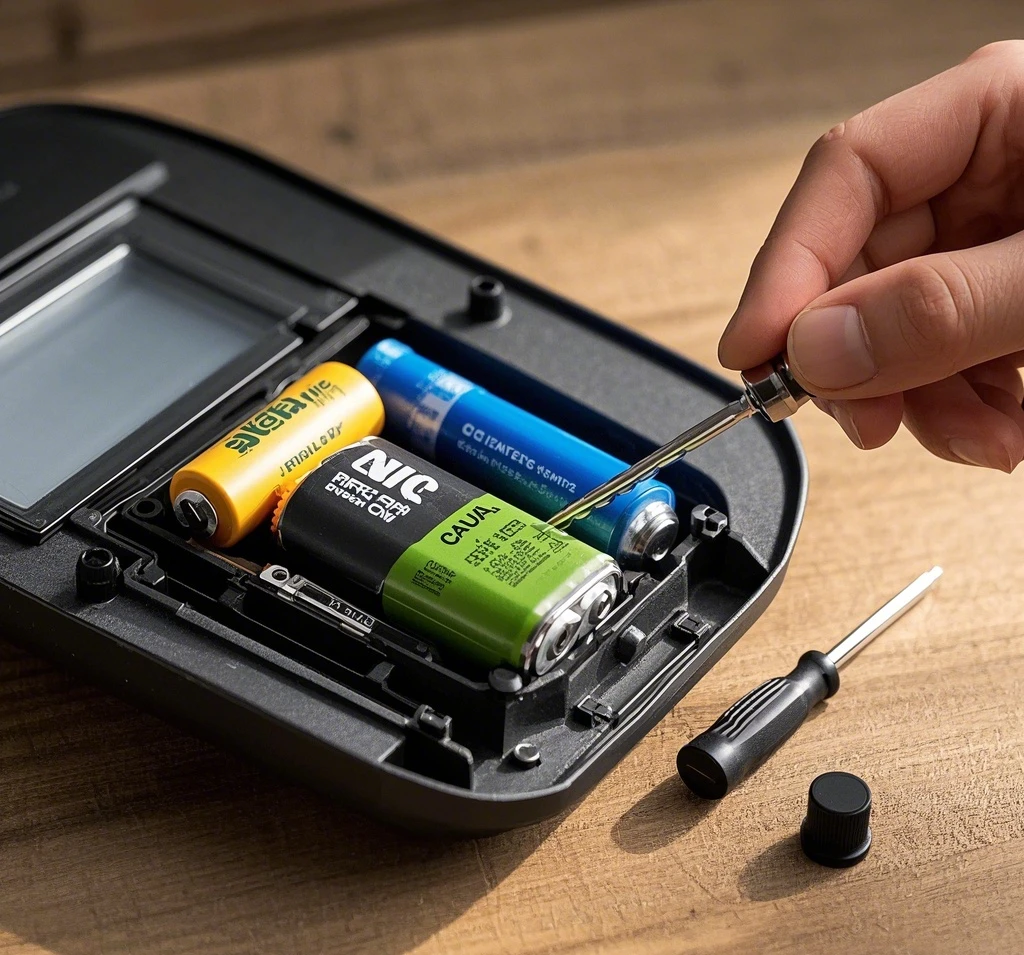
Step 2: Check and Charge the Battery
If cleaning doesn’t work, the battery could be the issue. Solar lights rely on rechargeable batteries, and they don’t last forever.
- What You’ll Need: A small screwdriver, a replacement battery (if needed), and a battery charger (optional).
- How to Do It: Open the battery compartment—usually a screwed-on panel near the solar panel or light. Check the battery type (e.g., AA NiMH or lithium-ion) and look for corrosion (greenish-white gunk) on the terminals. Clean corrosion with a cotton swab and vinegar, then dry it. Test the battery with a multimeter if you have one—NiMH should read around 1.2V when charged; lithium-ion, 3.7V. If it’s dead, charge it in a separate charger or replace it with a matching pre-charged battery.
- Test It: Reinstall the battery, let the light charge in sunlight, and see if the sensor kicks in.
Batteries typically last 1-2 years, so if yours is old, a swap might be overdue. Keep spares handy for quick fixes.
Step 3: Inspect the Solar Panel
A malfunctioning solar panel can starve the system of power, leaving the sensor useless. Let’s troubleshoot it.
- What You’ll Need: A cloth, screwdriver, and possibly a multimeter.
- How to Do It: Ensure the panel is clean (see Step 1). Then, check its placement—move it to direct sunlight if it’s been shaded by new growth or debris. Look for cracks or discoloration, which signal damage. If you’ve got a multimeter, test the panel’s output in sunlight—it should produce a voltage close to the battery’s rating (e.g., 1.5V-5V, depending on the light). If it’s dead, you might need a replacement panel (check compatibility online or at a hardware store).
- Test It: After repositioning or replacing, give it a full day to charge and test the sensor at night.
A shaded panel is a common fix—sometimes a quick trim of overhanging branches does the trick.
Step 4: Adjust the PIR Sensor Settings
Many PIR solar lights have adjustable settings—sensitivity, timer, or lux (light level)—and a wrong tweak can cause chaos.
- What You’ll Need: The light’s manual (or a quick online search for your model).
- How to Do It: Look for small dials, switches, or buttons under the sensor or on the body. Sensitivity controls how easily motion triggers the light—turn it down if it’s too jumpy, up if it’s ignoring you. The timer sets how long it stays on—reset it to 30 seconds or so. Lux adjusts when it activates—tweak it if the light’s on during the day. No manual? Experiment with small adjustments and test after each change.
- Test It: Walk past the sensor at night to see if it behaves.
One user found their light stayed on constantly because the sensitivity was maxed out—dialing it back fixed it in minutes.
Step 5: Check the Wiring and Connections
Loose or damaged wiring can disconnect the sensor from the power source or light. Time to play detective.
- What You’ll Need: Screwdriver, electrical tape, and maybe wire strippers or a soldering iron.
- How to Do It: Open the light’s casing (carefully—it’s often fragile plastic). Look for loose wires, broken solder joints, or corrosion. Tighten screws or reattach loose connections with tape or soldering if you’re handy. If a wire’s frayed, strip the ends and twist them together, securing with tape (replace the light long-term if this happens).
- Test It: Reassemble and test after a day of charging.
Waterproofing fails over time, so corrosion is common—especially if the light’s been exposed to rain. A dry fix might buy you time.
Step 6: Replace the PIR Sensor (Last Resort)
If all else fails, the sensor itself might be kaput. Replacing it is trickier but doable.
- What You’ll Need: A replacement PIR sensor (match your model), screwdriver, and basic soldering skills.
- How to Do It: Source a compatible sensor online (eBay or Amazon often have spares). Open the light, desolder the old sensor (two or three pins usually), and solder the new one in place. Watch a YouTube tutorial if you’re new to soldering—safety first! Reassemble and charge.
- Test It: Check if motion triggers it after a full charge.
This is rare—sensors are hardy—but it’s an option if you’re determined to save the light.
Extra Tips for Long-Term Success
Keep your PIR solar light humming with these habits:
- Regular Cleaning: Wipe the sensor and panel monthly to prevent buildup.
- Seasonal Checks: Test the battery and settings before winter or rainy seasons.
- Weatherproofing: Add silicone sealant around seams if water’s sneaking in.
- Upgrade Wisely: If repairs pile up, consider a higher-quality light with better durability.
Prevention beats a cure—stay ahead of issues, and your light will last years.
Get That PIR Sensor Shining Again
Fixing a PIR sensor solar light doesn’t have to be a headache. From a quick clean to a sensor swap, these steps can breathe new life into your setup. Most issues boil down to dirt, power, or settings—tackle them one by one, and you’ll likely find the fix. Not only will you save money, but you’ll also feel like a backyard MacGyver.
Ready to troubleshoot? Grab your tools, start simple, and watch that light spring back to action.
Frequently Asked Questions (FAQs)
1. Why does my PIR solar light stay on all the time?
It could be a dirty sensor, high sensitivity, or a lux setting letting it run in daylight—clean and adjust it.
2. Can I test the sensor without sunlight?
Yes, charge the battery via USB (if equipped) or swap in a fresh one, then test indoors.
3. How long do PIR sensors last?
Typically 3-5 years, though weather and quality affect lifespan.
4. What if cleaning doesn’t fix it?
Move to battery or panel checks—dirt’s just one piece of the puzzle.
5. Should I replace or repair my light?
Repair if it’s a cheap fix (battery, cleaning); replace if the sensor or panel’s shot and parts are pricey.
Leave a Reply