

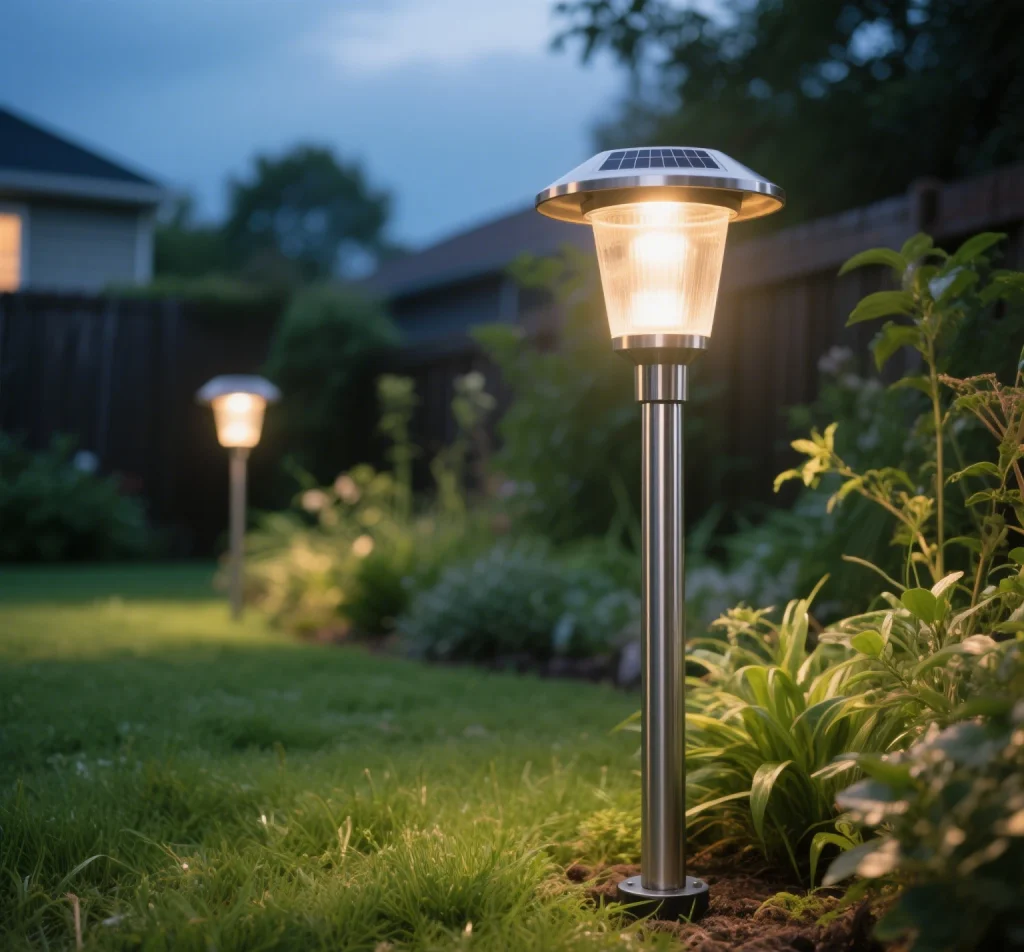
Solar garden lights are a popular, eco-friendly solution for illuminating outdoor spaces, enhancing the aesthetics of gardens, pathways, and patios while reducing energy costs. Powered by solar panels and rechargeable batteries, these lights are designed for low maintenance and durability. However, like any outdoor product, solar garden lights can stop working due to various issues, such as battery failure, dirt accumulation, or component damage. When these lights fail, homeowners may wonder how to diagnose and fix the problem or whether replacement is necessary. This article provides a comprehensive guide on what to do when solar garden lights stop working, focusing on the products themselves—their components, common issues, and repair techniques. By offering step-by-step troubleshooting, maintenance tips, and preventive measures, we aim to help users restore their lights to full functionality and extend their lifespan.
Understanding Solar Garden Lights
What Are Solar Garden Lights?
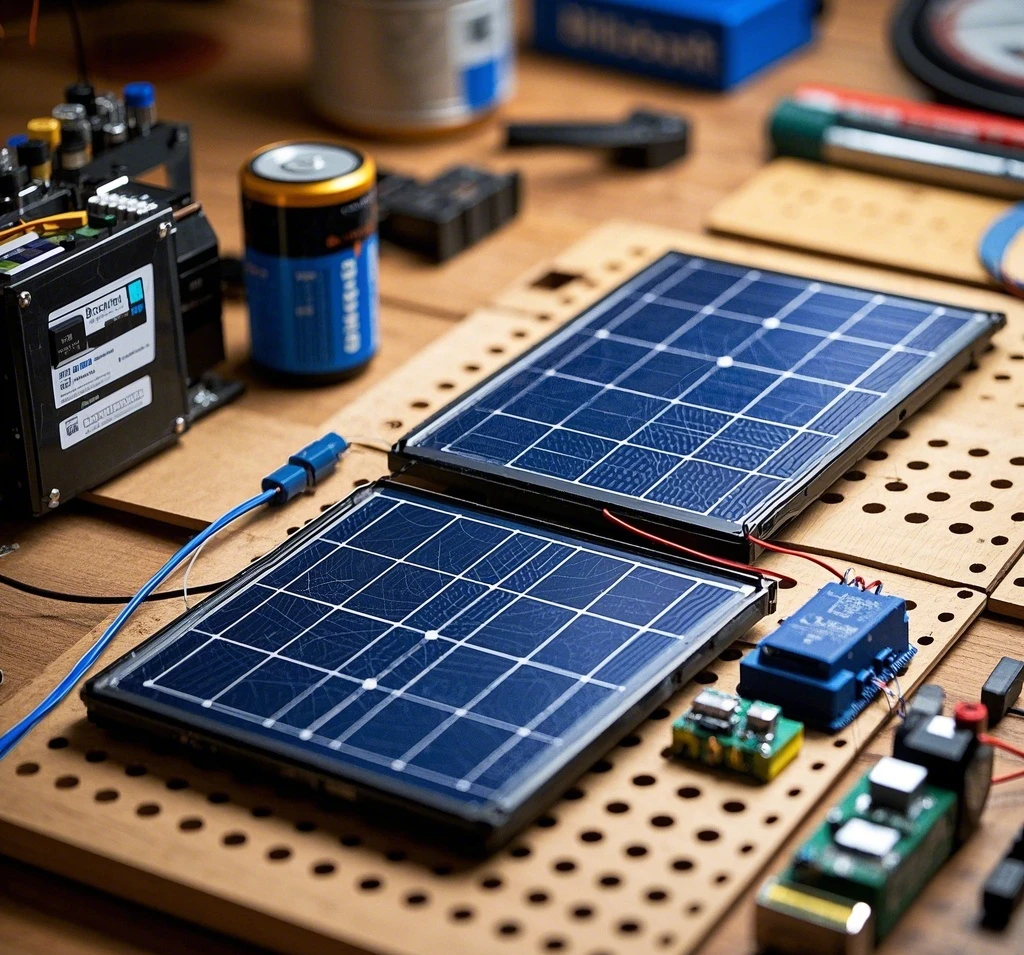
Solar garden lights are standalone fixtures that convert sunlight into electricity to power LED or other light sources. Key components include:
- Solar Panel: A photovoltaic panel (monocrystalline, polycrystalline, or amorphous) that captures sunlight to generate electricity.
- Rechargeable Battery: Typically NiMH (Nickel-Metal Hydride) or Li-ion (Lithium-ion), stores energy for nighttime illumination.
- LED Light Source: Provides energy-efficient lighting, available in warm-white (2700–3000K) or cool-white (5000–6500K).
- Photosensor: Detects ambient light to automatically turn the light on at dusk and off at dawn.
- Housing and Mount: Made of plastic, stainless steel, aluminum, or glass, with stakes, wall mounts, or hanging mechanisms for placement.
Available in forms like stake lights, string lights, lanterns, and floodlights, these lights range in brightness from 10 to 200 lumens, catering to decorative or functional needs.
Common Features Relevant to Troubleshooting
- IP Rating: Indicates water and dust resistance (e.g., IP44 for light rain, IP65 for heavy rain/snow, IP67 for submersion). Low ratings may lead to moisture damage.
- Battery Type: NiMH batteries are affordable but prone to degradation; Li-ion batteries offer better performance but are costlier.
- Solar Panel Efficiency: Monocrystalline panels are more efficient in low light, while polycrystalline or amorphous panels are common in budget models.
- Modular Design: Lights with removable batteries or panels are easier to repair.
Why Do Solar Garden Lights Stop Working?
Solar garden lights can fail due to issues with their components or environmental factors. Understanding these causes is the first step in troubleshooting:
- Battery Failure:
- NiMH batteries degrade after 1–2 years or 500–1000 charge cycles, especially in extreme temperatures.
- Li-ion batteries last longer (2–3 years) but can fail if over-discharged or exposed to extreme cold/heat.
- Corrosion or leakage in the battery compartment can disrupt power.
- Dirty or Damaged Solar Panels:
- Dirt, dust, or debris (e.g., leaves, bird droppings) on panels blocks sunlight, preventing charging.
- Cracked or scratched panels reduce efficiency.
- Faulty Photosensor:
- A malfunctioning photosensor may keep the light on during the day (draining the battery) or prevent it from turning on at night.
- LED or Wiring Issues:
- LEDs have a long lifespan (up to 50,000 hours), but faulty wiring or water damage can cause failure.
- Loose or corroded connections disrupt power flow.
- Environmental Damage:
- Moisture infiltration (especially in low IP-rated lights) can damage electronics.
- Extreme cold makes plastic brittle, leading to cracks, while heat can degrade batteries or panels.
- Physical damage from wind, falling branches, or lawnmowers can break components.
- Insufficient Sunlight:
- Shaded placement or short winter days reduce charging, causing dim or no light output.
Step-by-Step Troubleshooting Guide
When solar garden lights stop working, follow this systematic process to diagnose and fix the issue, focusing on the product’s components.
Step 1: Verify the Light Isn’t Working
- Check the Switch: Some lights have an on/off switch. Ensure it’s in the “on” position.
- Test in Darkness: Cover the photosensor or place the light in a dark room to confirm it doesn’t turn on. If it lights up, the issue may be external (e.g., ambient light interference).
- Observe Behavior: Note if the light is dim, flickering, or completely off, as this indicates specific issues (e.g., dim light suggests battery or charging problems).
Step 2: Inspect and Clean the Solar Panel
A dirty or damaged panel prevents charging, a common issue reported on X posts about solar light failures.
- Clean the Panel:
- Wipe with a damp microfiber cloth and mild soap to remove dirt, dust, or debris. Avoid abrasive materials to prevent scratches.
- Rinse with clean water and dry thoroughly to avoid water spots.
- Check for Damage:
- Look for cracks, scratches, or discoloration on the panel, which reduce efficiency.
- If damaged, consider replacing the panel (if modular) or the entire light for budget models.
- Test Charging:
- Place the light in direct sunlight for 8–12 hours after cleaning. Ensure it’s not shaded by trees, buildings, or snow.
- Test at night to see if the light works. If not, proceed to the next step.
Step 3: Check and Replace the Battery
Battery failure is the most common reason solar garden lights stop working.
- Access the Battery:
- Open the battery compartment (usually a screw or clip mechanism). Handle carefully to avoid damaging seals.
- Note the battery type (NiMH or Li-ion) and specifications (e.g., AA, 1.2V for NiMH; 3.7V for Li-ion).
- Inspect for Damage:
- Look for corrosion, leakage, or swelling. Clean corroded contacts with a vinegar-soaked cloth or fine sandpaper, then dry thoroughly.
- Dispose of damaged batteries at a recycling center.
- Test the Battery:
- Use a multimeter to check voltage (e.g., NiMH should read ~1.2V when charged; Li-ion ~3.7V). If below expected levels, the battery is likely dead.
- Alternatively, replace with a known working battery of the same type and test the light.
- Replace the Battery:
- Purchase a compatible battery (match voltage, size, and type). For example, replace a 1.2V AA NiMH with the same, not a different voltage or Li-ion.
- Charge the new battery in sunlight for 8–12 hours before testing.
- Common replacements: AA NiMH (600–1200 mAh) for budget lights; 18500 Li-ion for premium models.
Step 4: Test the Photosensor
A faulty photosensor can prevent the light from turning on or off correctly.
- Check Functionality:
- Cover the photosensor completely with opaque tape or your hand in a dark environment. The light should turn on.
- Expose it to bright light (e.g., a flashlight). The light should turn off.
- Clean the Sensor:
- Wipe with a damp cloth to remove dirt or moisture affecting sensitivity.
- Address Ambient Light:
- If the light stays off at night, nearby streetlights or porch lights may trick the sensor into thinking it’s daytime. Relocate the light to a darker area.
- Replace if Faulty:
- Photosensors are rarely replaceable in budget lights. If confirmed faulty, consider replacing the entire unit.
Step 5: Inspect the LED and Wiring
If the panel, battery, and sensor are functional, the issue may lie with the LED or wiring.
- Check the LED:
- If the battery is charged and the sensor works, but the light doesn’t illuminate, the LED may be burnt out. This is rare, as LEDs last thousands of hours.
- Test with a multimeter or replace with a compatible LED (matching voltage and wattage) if the light allows modular replacement.
- Inspect Wiring:
- Look for loose, frayed, or corroded wires in the battery compartment or panel connections.
- Clean corroded contacts with a small brush or sandpaper. Re-solder loose connections if you have the skills, or consult a professional.
- If water damage is evident (e.g., rust, green corrosion), the light may need replacement unless it’s a high-end model worth repairing.
Step 6: Evaluate Environmental Factors
If the light still doesn’t work, external factors may be the cause:
- Sunlight Exposure:
- Ensure the light receives 6–8 hours of direct sunlight daily. Move to a sunnier location if shaded by trees, buildings, or seasonal obstructions.
- Weather Damage:
- Check for cracks in the housing or moisture infiltration, especially in low IP-rated lights (e.g., IP44). Seal minor cracks with waterproof silicone or replace the unit.
- Physical Damage:
- Inspect for broken stakes, lenses, or panels caused by impacts (e.g., lawnmowers, falling branches). Replace damaged parts or the entire light.
Step 7: Test the Light
After addressing potential issues:
- Charge Fully: Place the light in direct sunlight for 8–12 hours with a new or tested battery.
- Test at Night: Check if the light turns on, stays bright, and operates for the expected duration (6–12 hours).
- Repeat if Necessary: If the light still doesn’t work, revisit each step or consider replacing the unit, especially for budget models where repairs may not be cost-effective.
Common Product-Specific Issues
Different types of solar garden lights have unique vulnerabilities:
- Stake Lights (e.g., GIGALUMI Solar Pathway Lights): Prone to stake breakage or panel dirt accumulation. Clean panels regularly and store stakes indoors during winter.
- String Lights (e.g., Brightech Ambience Pro): Wires can tangle or break. Inspect connections and avoid overstretching during installation.
- Wall-Mounted Lights (e.g., LITOM Solar Wall Lights): Susceptible to moisture if seals fail. Check IP ratings (IP65 or higher) and re-seal if needed.
- Lanterns (e.g., TomCare Solar Lanterns): Glass components may crack in cold. Store indoors in harsh winters or ensure high IP ratings.
Preventive Maintenance Tips
To minimize future failures and extend the lifespan of solar garden lights:
- Regular Cleaning:
- Clean solar panels monthly to remove dirt, dust, or snow. Use a damp cloth and mild soap, then dry thoroughly.
- Battery Care:
- Replace NiMH batteries every 1–2 years, Li-ion every 2–3 years, or when performance drops.
- Store batteries at 50–70% charge in a cool, dry place during winter to prevent degradation.
- Protect from Weather:
- Use lights with IP65 or IP67 ratings for better resistance to rain, snow, or dust.
- In harsh winters, store budget lights indoors or use weatherproof covers.
- Optimize Placement:
- Position lights in areas with maximum sunlight, avoiding shade from plants or structures.
- Secure stakes firmly to prevent wind damage.
- Check Components:
- Inspect wiring, seals, and housings annually for wear or damage. Re-seal or replace as needed.
When to Replace Instead of Repair
If troubleshooting doesn’t restore functionality, consider replacement:
- Budget Lights ($5–$15): Often cheaper to replace than repair, especially if the panel, LED, or wiring is damaged.
- Mid-Range Lights ($15–$30): Worth repairing if only the battery or a modular part needs replacement.
- Premium Lights ($30+): Repair is cost-effective due to durable components (e.g., replaceable panels or LEDs).
When replacing, upgrade to lights with:
- IP65 or IP67 ratings for weather resistance.
- Li-ion batteries for better performance.
- Monocrystalline panels for improved low-light charging.
Case Studies and Real-World Insights
- Suburban Garden in Ohio, USA: A homeowner reported budget stake lights failing after a year. Cleaning panels and replacing NiMH batteries restored 80% of the lights, with the rest replaced due to cracked housings.
- Urban Patio in London, UK: String lights stopped working due to tangled wires. Untangling and replacing a corroded battery fixed the issue, with regular cleaning preventing recurrence.
- Rural Farm in Alberta, Canada: Harsh winters damaged low-IP-rated lights. Switching to IP67-rated models and storing batteries indoors resolved repeated failures.
Conclusion
When solar garden lights stop working, systematic troubleshooting can often restore functionality, saving money and reducing waste. By focusing on the product’s components—solar panel, battery, photosensor, LED, and wiring—users can diagnose issues like dirt buildup, battery failure, or moisture damage. Cleaning panels, replacing batteries, and addressing environmental factors like shade or weather exposure are key steps to revive lights. Regular maintenance, such as cleaning, battery care, and proper placement, prevents future failures and extends lifespan. For budget models, replacement may be more practical than repair, while premium lights justify investment in fixes. By understanding their solar garden lights and following this guide, homeowners can keep their outdoor spaces illuminated sustainably, ensuring beauty and functionality for years to come.
Leave a Reply