
Solar lights are an eco-friendly, cost-effective solution for outdoor lighting, harnessing solar energy to power homes, gardens, and public spaces. However, issues like lights not turning on, dim output, or inconsistent performance can frustrate users. This comprehensive guide covers common solar light problems, from charging failures to faulty components, and provides step-by-step troubleshooting to resolve them. Whether you’re dealing with a photovoltaic panel blockage or a controller issue, this article will help you diagnose and fix problems efficiently, reducing downtime and maintenance costs.
Understanding How Solar Lights Work
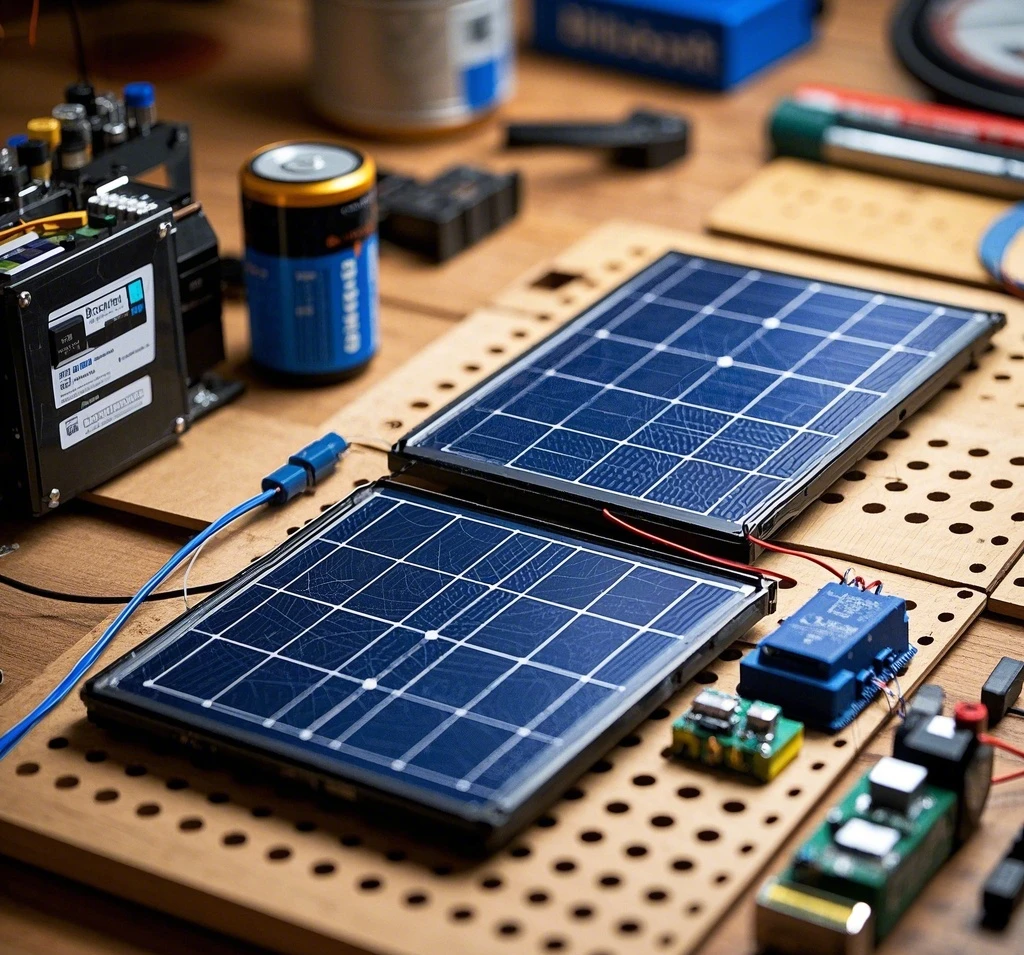
Before diving into troubleshooting, it’s essential to understand the core components of a solar lighting system:
- Photovoltaic Panel: Converts sunlight into electricity.
- Battery: Stores energy for nighttime use.
- Controller: Manages charging and discharging to protect the battery.
- LED Light: Provides illumination using stored energy.
- Wiring and Connectors: Links components for seamless operation.
Issues with any of these components can cause a solar light to malfunction. Let’s explore the most common problems and their solutions.
Common Solar Light Issues and Fixes
1. Solar Light Not Turning On
If your solar light doesn’t illuminate, the issue could stem from several sources. Here’s how to diagnose and fix it:
Check the Photovoltaic Panel for Obstructions
Dirt, leaves, or snow on the solar panel can block sunlight, reducing charging efficiency. Inspect the panel and clean it with a soft cloth and mild detergent. Ensure it’s positioned to receive maximum sunlight, ideally facing south in the Northern Hemisphere.
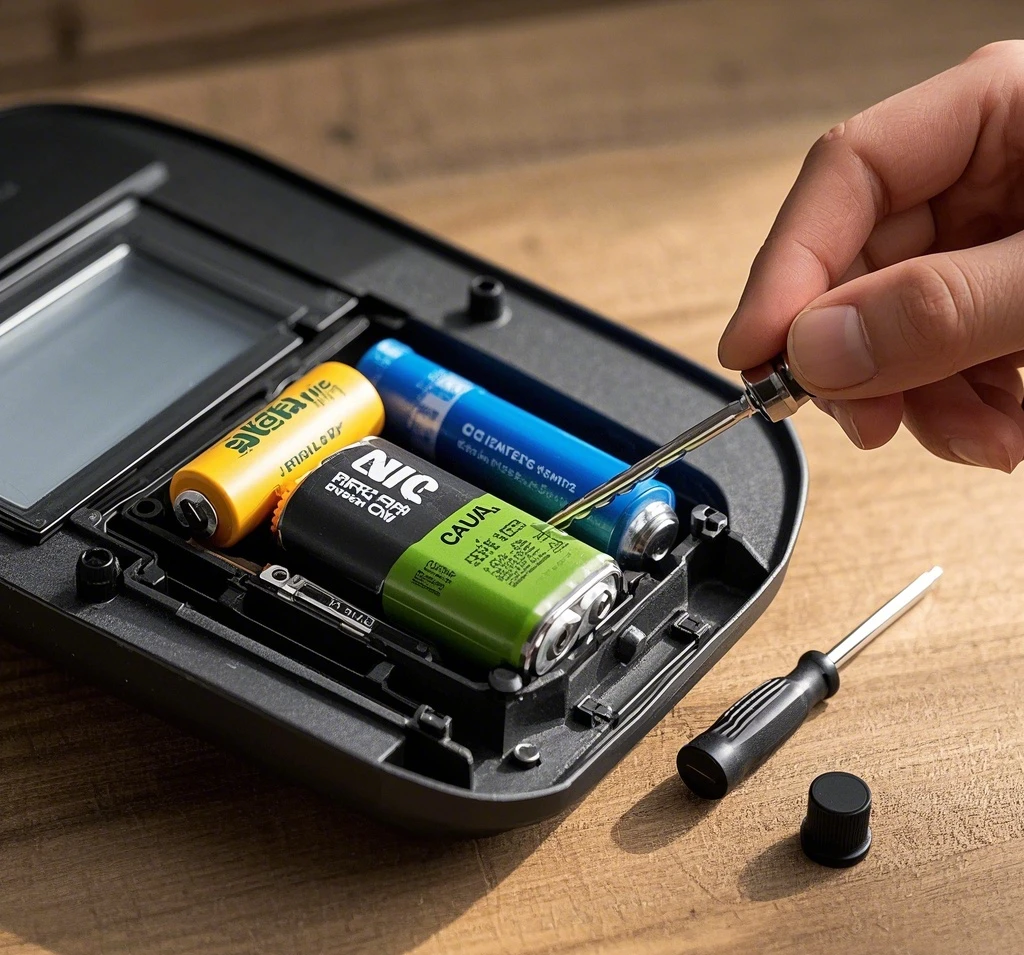
Verify Battery Charge
A depleted or damaged battery is a common culprit. Use a multimeter to check the battery’s voltage. For a 3.2V lithium iron phosphate battery, the voltage should be between 3.0V and 3.6V when fully charged. If it’s below this range, the battery may need replacement. Refer to our guide on battery maintenance for detailed steps.
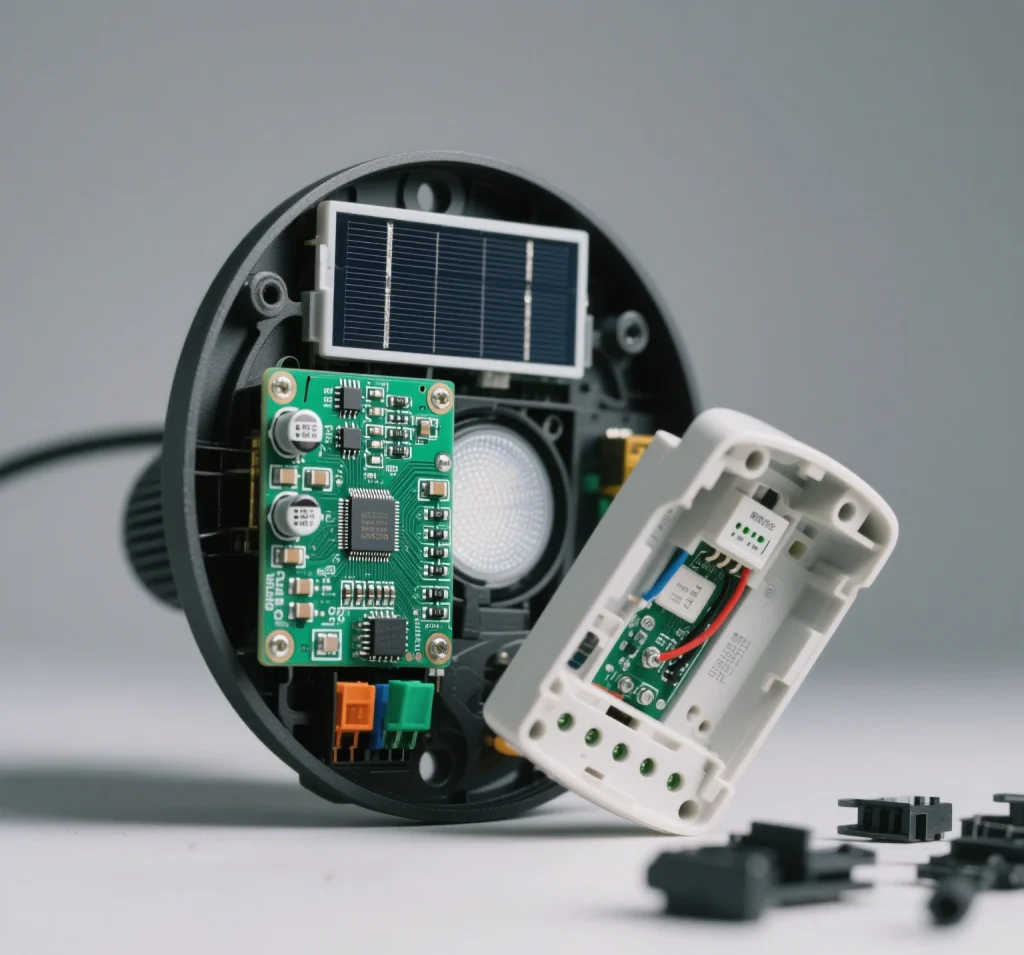
Inspect the Controller
The controller regulates power flow. A faulty controller may prevent the light from turning on. Check for loose connections or signs of water damage. If the controller has an indicator light, consult the manual to interpret its status. Replace the controller if necessary, ensuring compatibility with your system.
Test the LED Light
A damaged LED light can mimic a total system failure. Test the LED by connecting it to a known working power source. If it doesn’t light up, replace the LED module, ensuring it matches the system’s voltage and wattage requirements.
2. Dim or Flickering Light Output
Dim or flickering lights often indicate insufficient power or component issues. Follow these steps:
Assess Solar Panel Efficiency
Partial shading from trees or buildings can reduce solar panel output. Relocate the panel to an unshaded area or trim nearby vegetation. Check the panel’s output with a multimeter; it should match the manufacturer’s specifications (e.g., 5W for a small garden light).
Examine Battery Health
Over time, batteries lose capacity, leading to dim output. Cycle the battery (fully charge and discharge) to test its performance. If the battery struggles to hold a charge, consider upgrading to a high-quality lithium-ion battery for better longevity. Learn more about battery types for solar lights.
Check Wiring Connections
Loose or corroded wiring can disrupt power flow, causing flickering. Inspect all connectors for rust or looseness. Clean corroded terminals with a wire brush and secure all connections. Use waterproof connectors for outdoor systems to prevent future issues.
3. Light Turns On During the Day
Solar lights should only activate at night, controlled by a photosensor or the controller’s light detection system. If your light stays on during the day:
Inspect the Photosensor
A dirty or misaligned photosensor may fail to detect daylight. Clean the sensor and ensure it’s not obstructed. If the problem persists, the sensor may be faulty and require replacement.
Review Controller Settings
Some controllers allow manual adjustments. Check if the light’s settings have been altered to remain on constantly. Reset the controller to its default settings, following the manufacturer’s instructions.
4. Short Illumination Time
If your solar light turns off prematurely, the issue often lies in insufficient charging or battery capacity.
Optimize Solar Panel Placement
Ensure the photovoltaic panel receives at least 6–8 hours of direct sunlight daily. Seasonal changes, like shorter winter days, can reduce charging time. Adjust the panel’s angle to capture more sunlight during low-sun months.
Test Battery Capacity
A battery with reduced capacity may not store enough energy for extended operation. Use a battery tester to measure its capacity against the manufacturer’s rating (e.g., 2000mAh). Replace the battery if it’s significantly degraded.
Evaluate Load Demand
High-wattage LEDs or additional features like motion sensors can drain the battery quickly. Check if the LED light matches the system’s design specifications. Consider switching to a lower-wattage LED or upgrading the battery for longer runtime.
5. Controller or Wiring Faults
Advanced issues, like a malfunctioning controller or damaged wiring, require careful diagnosis.
Diagnose Controller Issues
A controller failure can disrupt the entire system. Look for error codes or indicator lights on the controller. Test it by swapping with a compatible unit. If the replacement resolves the issue, the original controller is faulty. Visit our controller troubleshooting guide for more details.
Check for Wiring Damage
Exposed or frayed wiring can cause short circuits or power loss. Inspect all cables for cuts, wear, or animal damage. Replace damaged wiring with weather-resistant cables and ensure proper insulation to prevent future issues.
Step-by-Step Troubleshooting Checklist
To streamline the process, follow this checklist to identify and resolve solar light issues:
- Inspect the Solar Panel:
- Clean the panel surface.
- Ensure no shading from obstacles.
- Test panel output with a multimeter.
- Check the Battery:
- Measure voltage and capacity.
- Recharge or replace if necessary.
- Ensure correct polarity during installation.
- Examine the Controller:
- Verify connections and settings.
- Look for error indicators.
- Test with a replacement controller if needed.
- Test the LED Light:
- Confirm functionality with an external power source.
- Replace if damaged, matching system specs.
- Inspect Wiring and Connectors:
- Check for corrosion or loose connections.
- Replace damaged wiring with waterproof alternatives.
- Verify Photosensor Operation:
- Clean and align the sensor.
- Replace if it fails to detect light changes.
Preventive Maintenance Tips
To minimize future issues with your solar lighting system, adopt these maintenance practices:
- Regular Cleaning: Clean the solar panel monthly to remove dust and debris.
- Seasonal Adjustments: Adjust panel angles to optimize sunlight capture throughout the year.
- Battery Care: Avoid deep discharges by ensuring consistent charging. Replace batteries every 2–3 years.
- Weatherproofing: Use silicone sealant or waterproof tape to protect connectors from moisture.
- Periodic Inspections: Check wiring and components quarterly for wear or damage.
For more maintenance strategies, explore our solar system care guide.
When to Seek Professional Help
If troubleshooting doesn’t resolve the issue, the problem may require advanced diagnostics or specialized tools. Contact a professional if:
- The controller shows persistent errors despite replacement.
- The photovoltaic panel produces no output, indicating internal damage.
- Complex wiring issues involve multiple components or high-voltage systems.
For professional support, visit our solar repair services page to connect with certified technicians.
Conclusion
A malfunctioning solar light can often be fixed with simple troubleshooting steps, from cleaning the solar panel to replacing a faulty battery. By systematically checking each component—panel, battery, controller, LED, and wiring—you can restore your solar lighting system to full functionality. Regular maintenance and proper installation are key to preventing issues and ensuring long-term performance. If problems persist, professional assistance can provide a deeper diagnosis.
This guide empowers you to tackle common solar light issues with confidence, reducing downtime and enhancing the reliability of your eco-friendly lighting solution. For additional resources, check our solar troubleshooting FAQ or contact our support team for personalized advice.
Leave a Reply