
For homeowners who want the convenience of smart outdoor lighting without the complexity or cost of a full-scale smart home system, light automation offers a perfect solution. This guide is tailored for casual smart users who prefer simple, low-cost setups over high-power energy storage systems. By integrating solar wall lights, string lights, and spotlights with affordable sensors, you can achieve practical automation that enhances convenience and saves energy. Below, we explore three light automation setups—each designed to be installed without an electrician and kept under a $50 budget per kit. A detailed light automation accessory list at the end ensures you can replicate these setups easily.
Solar Wall Lights + Door/Window Sensors: Hands-Free Entry
Returning home with arms full of groceries or packages can make fumbling for a light switch frustrating. Pairing solar wall lights with a door/window sensor creates a seamless light automation solution for your backdoor or entryway.
How It Works
Install a solar wall light near your backdoor and attach a door/window sensor to the door frame. When the door opens, the sensor triggers the solar wall light to turn on for five minutes, providing ample time to enter and settle in. This setup eliminates the need for manual switches, making it ideal for late-night arrivals or busy evenings. The solar wall light charges during the day, ensuring no additional energy costs.
Setup Tips
- Choose the Right Light: Select a solar wall light with a brightness of at least 200 lumens for clear illumination. Ensure it has a replaceable battery for long-term use.
- Sensor Placement: Mount the door/window sensor on the door frame, aligning the magnet and sensor within 1 cm for reliable detection.
- Programming: Most sensors allow you to set the light duration (e.g., 5 minutes). Test the setup to confirm the light activates only when the door opens, avoiding false triggers from wind or pets.
This light automation setup is perfect for casual smart users who want convenience without complicated apps or wiring.
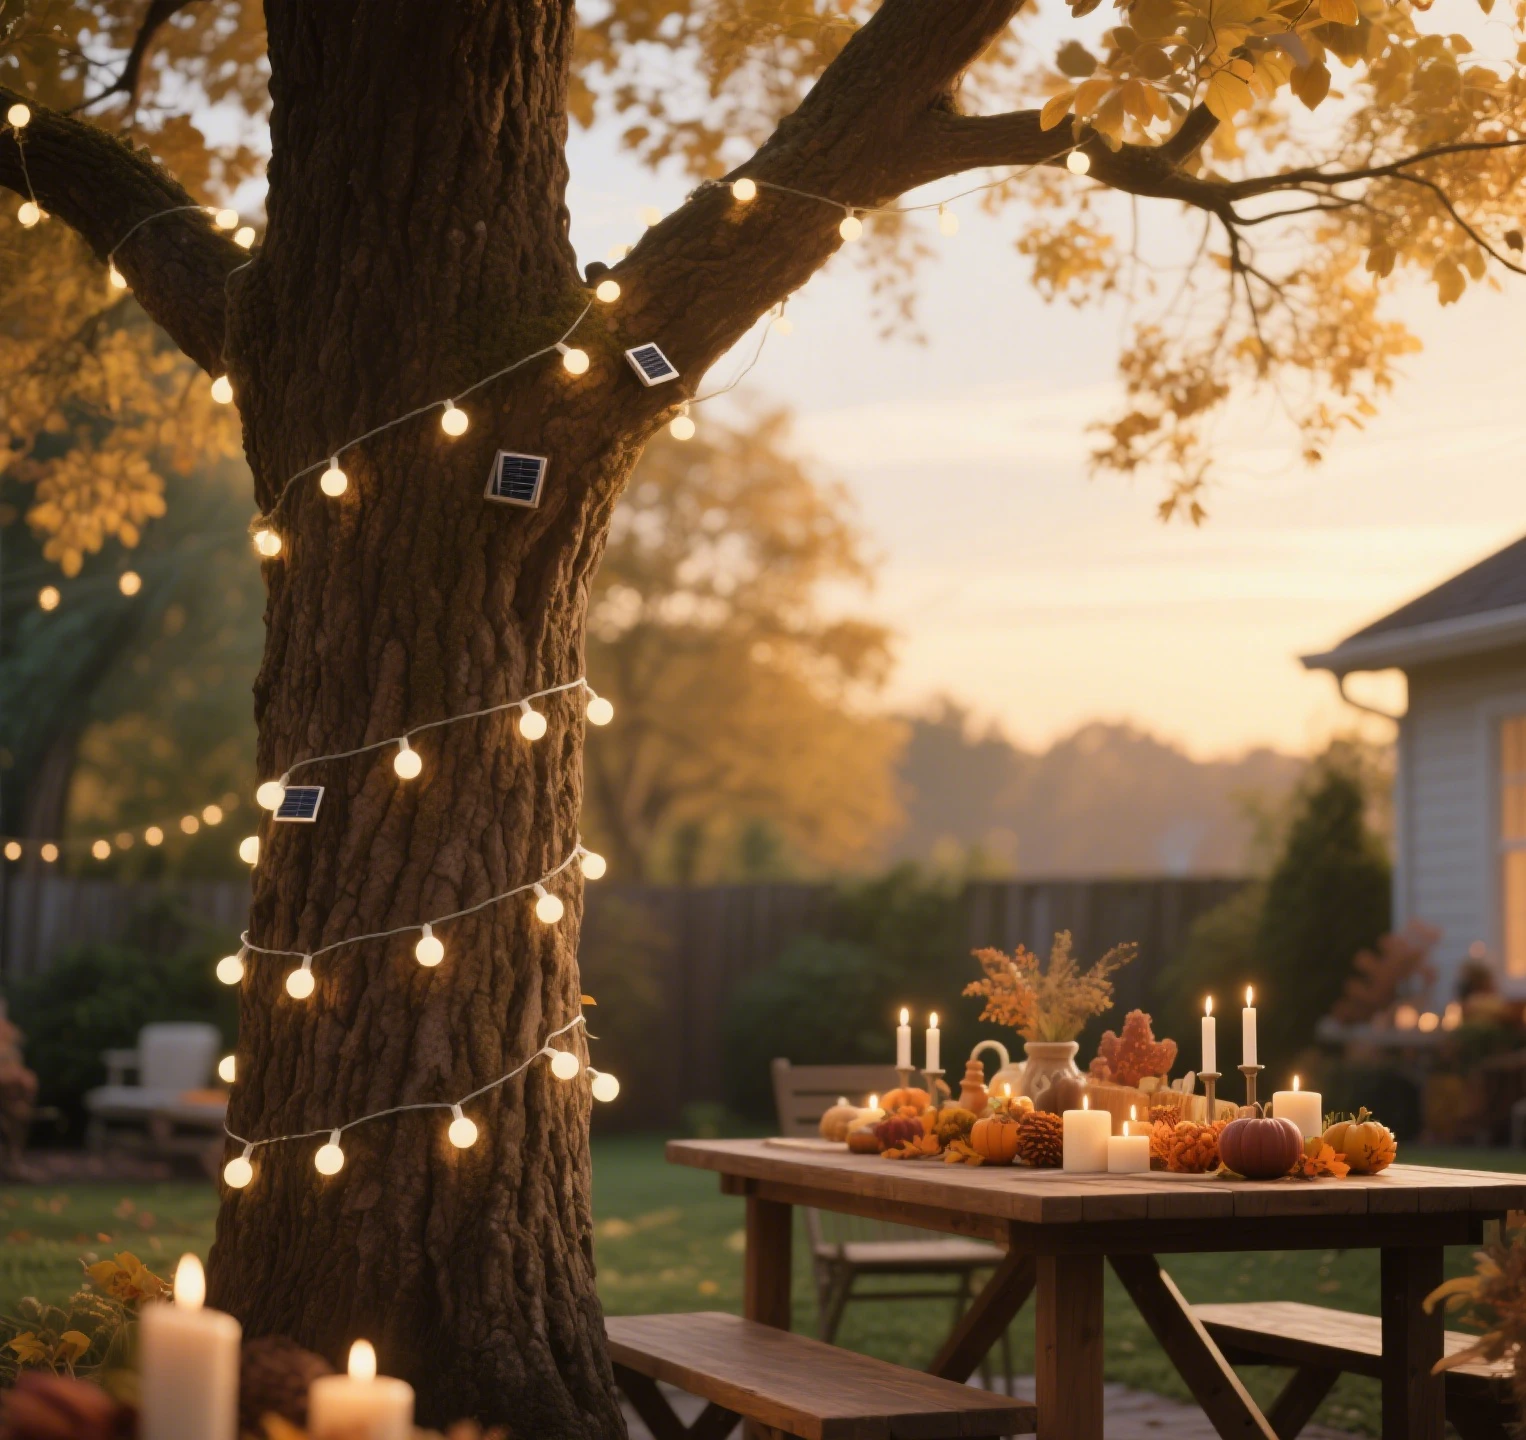
String Lights + Light Sensor Alarm: Energy-Saving Morning Shutoff
String lights add charm to patios or garden spaces, but leaving them on during the day wastes battery life. Pairing string lights with a light sensor alarm ensures they turn off automatically at dawn, saving energy without requiring a smartphone app.

How It Works
A light sensor alarm detects ambient light levels and triggers the string lights to turn off when sunlight reaches a set threshold, such as at 6 a.m. This light automation setup is simpler than app-based controls, requiring no Wi-Fi or constant monitoring. The string lights recharge during the day, ready for the next evening.
Setup Tips
- Light Sensor Placement: Position the light sensor in an open area that receives direct morning sunlight, avoiding shade from trees or buildings.
- Adjust Sensitivity: Set the sensor to activate at a low light threshold (e.g., 10-20 lux) to ensure it triggers only at dawn, not during cloudy moments.
- String Light Compatibility: Choose string lights with a low-voltage controller compatible with external sensors, typically listed in the product manual.
This setup is ideal for casual smart users who want to reduce energy waste without investing in complex smart home ecosystems.
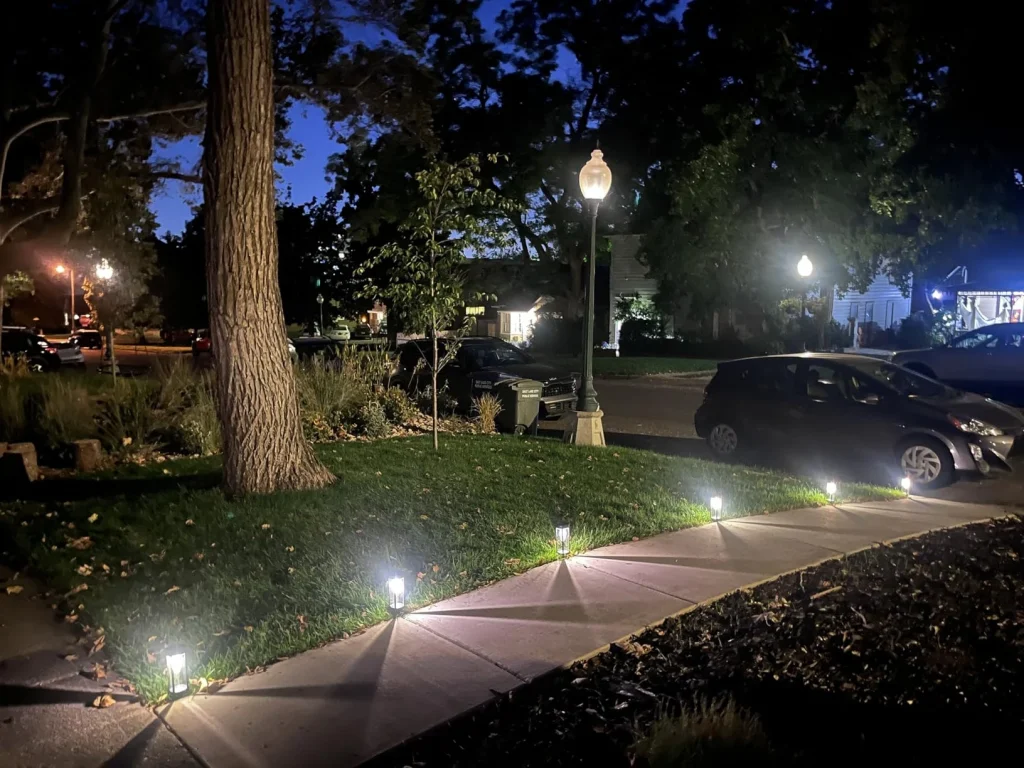
Spotlights + Motion Sensor Mat: Effortless Nighttime Access
Navigating a dark deck or patio to grab an item at night can be a hassle. Pairing spotlights with a motion sensor mat creates a light automation system that lights up your space only when needed, saving energy and eliminating manual switches.
How It Works
Place a motion sensor mat at the entrance to your deck or patio. When stepped on, the mat triggers nearby spotlights to illuminate for 30 seconds, providing enough time to retrieve items or move through the area. The spotlights rely on solar power, ensuring no wiring or electrician is needed.
Setup Tips
- Mat Placement: Position the motion sensor mat in a high-traffic area, such as near steps or a storage box, but avoid placing it where pets might trigger it.
- Spotlight Positioning: Angle spotlights to cover the desired area, typically 5-10 meters from the mat, with a brightness of 300-500 lumens for visibility.
- Timer Adjustment: Set the spotlights to stay on for 30 seconds to balance convenience and battery life. Test the mat’s sensitivity to ensure it detects footsteps reliably.
This setup suits casual smart users who value quick, hands-free lighting for occasional nighttime tasks.
Benefits of Light Automation for Casual Users
These light automation setups offer several advantages for homeowners avoiding high-power energy storage linkage:
- Low Cost: Each setup costs $50 or less, making smart lighting accessible without breaking the bank.
- Easy Installation: No electrician or advanced technical skills are required, as all components are plug-and-play.
- Energy Efficiency: Solar-powered lights eliminate electricity costs, and sensors prevent unnecessary battery drain.
- Minimal Maintenance: Once installed, these systems require only occasional cleaning and battery checks.
By focusing on light automation rather than complex systems, you gain convenience tailored to daily needs, like hands-free entry or energy-saving shutoffs.
Light Automation Accessory List
Below is a light automation accessory list for each setup, keeping costs at or below $50 per kit. All components are widely available online or at hardware stores and are designed for DIY installation by casual smart users.
| Setup | Component | Description | Approx. Cost |
|---|---|---|---|
| Solar Wall Lights + Door/Window Sensor | Solar Wall Light | 200-lumen light with replaceable battery | $25 |
| Door/Window Sensor | Magnetic sensor with 5-minute timer | $15 | |
| Mounting Tape | Weatherproof adhesive for sensor | $5 | |
| String Lights + Light Sensor Alarm | String Lights | 10-meter solar-powered LED string | $20 |
| Light Sensor Alarm | Dawn-detection sensor (10-20 lux) | $20 | |
| Cable Ties | For securing sensor and lights | $5 | |
| Spotlights + Motion Sensor Mat | Spotlights | 300-lumen solar spotlight (pair) | $25 |
| Motion Sensor Mat | Pressure-sensitive mat with 30-second timer | $20 | |
| Stakes/Brackets | For securing spotlights | $5 |
Sourcing Tips
- Online Retailers: Check Amazon, Home Depot, or Walmart for solar lights and sensors with user reviews to ensure reliability.
- Compatibility: Verify that sensors are compatible with your chosen lights (e.g., matching voltage or wireless protocols).
- Weatherproofing: Ensure all components are rated IP65 or higher for outdoor durability.
Total cost per setup is kept at or below $50, ensuring affordability for casual smart users. If buying in bulk for multiple setups, look for bundle discounts to save more.
Installation and Maintenance Tips
To ensure your light automation setups perform reliably:
- Clean Solar Panels: Wipe solar wall lights, string lights, and spotlights monthly with a damp cloth to remove dust and maintain charging efficiency.
- Check Batteries: Test batteries annually with a multimeter to confirm they hold a charge, replacing them if voltage drops below 1.2V.
- Test Sensors: Monthly, verify that door/window sensors, light sensor alarms, and motion sensor mats trigger correctly. Adjust placement or sensitivity as needed.
- Secure Components: Use weatherproof mounting tape or brackets to prevent wind or rain from dislodging sensors or lights.
Regional Considerations
- Northeast/Midwest: Use extra sealant on solar wall lights and spotlights to protect against snow and ice.
- South/Southwest: Ensure string lights and sensors are heat-resistant, as high temperatures can affect battery life.
- Pacific Northwest: Check for moss or moisture buildup on motion sensor mats due to frequent rain.
- Mountain West: Position spotlights to avoid snow accumulation, and store sensors indoors during extreme cold snaps.
Why Choose Light Automation?
For casual smart users, these light automation setups deliver convenience without the complexity or cost of high-power energy storage linkage. Whether it’s illuminating your entryway, saving energy on string lights, or lighting a patio with spotlights, these solutions are designed for ease and affordability. Each setup takes less than 30 minutes to install, requires no professional help, and uses solar power to keep costs at zero.
Final Tips
- Start with one setup (e.g., solar wall lights with a door/window sensor) to test compatibility with your home.
- Keep spare batteries on hand for quick replacements.
- Label sensor settings (e.g., timer duration) to avoid confusion during adjustments.
With these light automation strategies, you’ll enjoy a smarter, more convenient yard without the hassle of full-scale smart systems. Save this guide and accessory list to build your ideal setup today.
Leave a Reply