
Solar lights are a sustainable and cost-effective way to illuminate your outdoor spaces, from garden paths to fences. However, their performance relies heavily on the battery, which stores solar energy to power the lights at night. Over time, batteries degrade, leading to dimming or failure. Replacing batteries in solar lights is a simple task that can restore their brightness and extend their lifespan. This practical how-to guide provides step-by-step instructions for replacing batteries in various solar light models, along with tips to ensure optimal performance. Whether you’re maintaining stake lights, post cap lights, or wall-mounted fixtures, this guide will help you keep your solar lights shining.
Why Replace Batteries in Solar Lights?
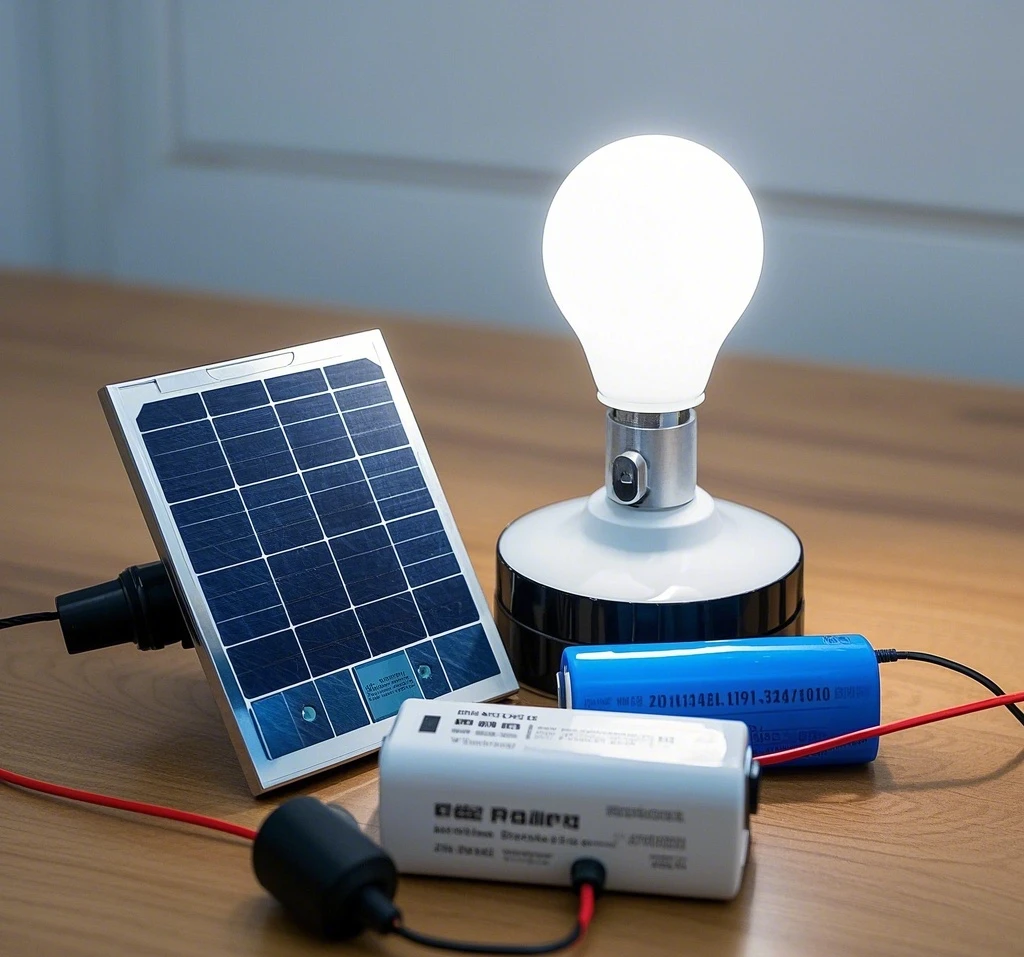
Solar lights typically use rechargeable batteries, such as NiMH (Nickel-Metal Hydride) or lithium-ion, which charge during the day via solar panels. After 1-2 years or 300-500 charge cycles, these batteries lose capacity, reducing brightness or runtime. Replacing batteries in solar lights offers several benefits:
- Restores Performance: New batteries ensure maximum brightness and longer illumination.
- Cost-Effective: Extends the life of your solar lights without replacing the entire unit.
- Eco-Friendly: Proper battery replacement and recycling reduce waste.
- Simple Maintenance: Most models allow easy access for quick swaps.
Understanding how to replace batteries in different solar light models ensures your outdoor lighting remains functional and efficient.
Tools and Materials Needed
Before starting, gather these essentials for replacing batteries in solar lights:
- Replacement Batteries: Match the type (e.g., AA NiMH, 18650 lithium-ion) and voltage of the original.
- Small Screwdriver: For models with screw-secured battery compartments.
- Gloves: To handle batteries safely and avoid corrosion residue.
- Cleaning Cloth: To wipe the battery compartment and solar panel.
- Battery Tester (Optional): To check the old battery’s charge.
Always purchase high-quality, rechargeable batteries from reputable brands to ensure compatibility and longevity.
Step-by-Step Instructions for Replacing Batteries
The process for replacing batteries in solar lights varies by model. Below are tailored instructions for three common types: stake lights, post cap lights, and wall-mounted lights.
1. Stake Solar Lights
Stake solar lights, often used along garden paths, typically have a simple battery compartment.
Steps:
- Turn Off the Light: Switch off the solar light (if applicable) to avoid electrical issues.
- Access the Battery Compartment: Remove the top section or lens cover, usually by twisting or pulling gently. Some models may have a small screw securing the cover.
- Remove the Old Battery: Locate the battery (often AA or AAA NiMH). Note its orientation (+/-) and gently remove it.
- Clean the Compartment: Wipe away dust or corrosion with a dry cloth to ensure good contact.
- Insert the New Battery: Place a new, compatible battery in the same orientation. Ensure a snug fit.
- Reassemble: Secure the cover or lens, ensuring it’s watertight.
- Test the Light: Place the light in sunlight for 6-8 hours to charge, then check brightness at night.
Tip: Use batteries with a capacity of 800-1200mAh for optimal performance in stake solar lights.
2. Post Cap Solar Lights
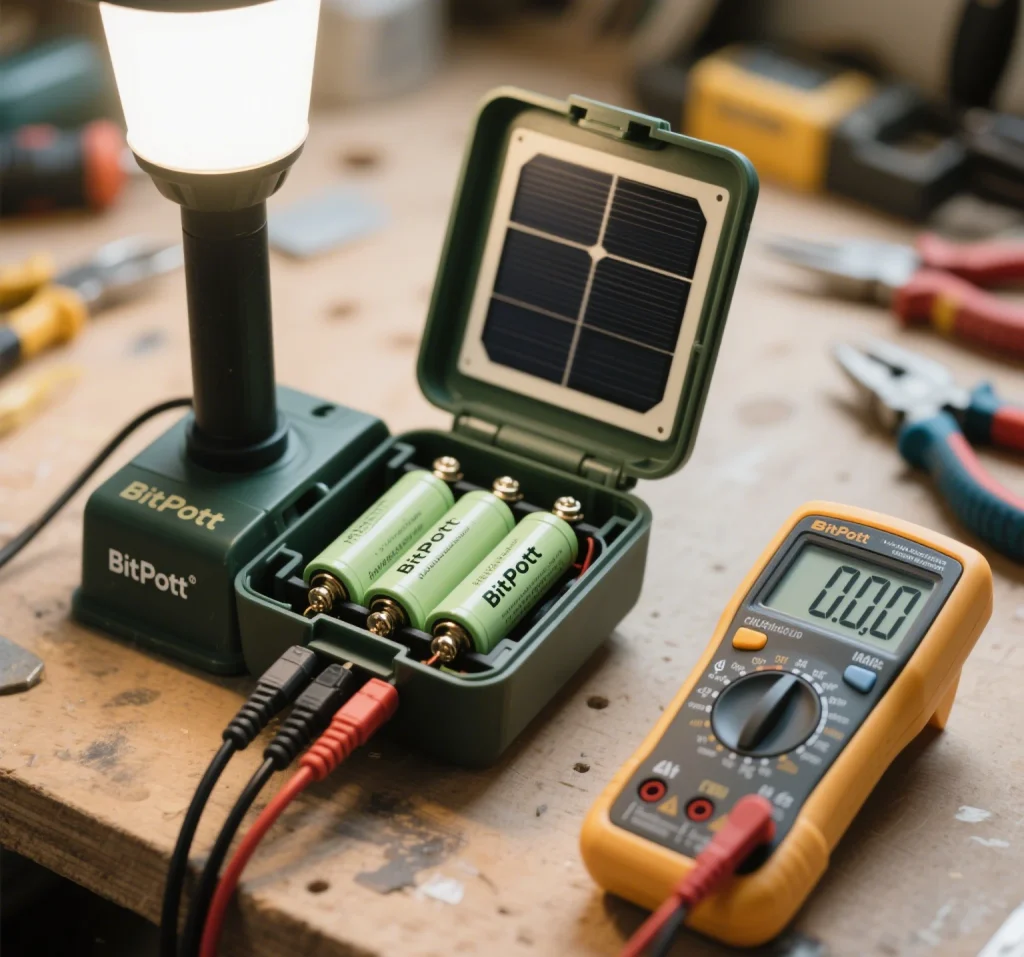
Post cap solar lights, like the Bitpott PC-T-001, fit atop fence or deck posts and often house larger batteries.
Steps:
- Turn Off Power: If the light has an on/off switch, turn it off.
- Remove the Cap: Unscrew or unclip the top of the post cap light to access the battery compartment. Some models, like the Bitpott PC-T-001, have a twist-off top.
- Extract the Battery: Identify the battery (often AA or 18650 lithium-ion). Carefully remove it, noting the polarity.
- Clean Contacts: Use a cloth to clean the battery terminals, removing any corrosion or debris.
- Install the New Battery: Insert a new battery matching the original’s specifications. For example, the Bitpott PC-T-001 uses a 2000mAh lithium-ion battery.
- Reassemble and Seal: Ensure the compartment is sealed to maintain the IP65 waterproof rating.
- Charge and Test: Allow a full day’s charge in sunlight and verify performance at night.
Tip: Check the manufacturer’s manual for the exact battery type, as post cap lights may use specialized sizes.
3. Wall-Mounted Solar Lights
Wall-mounted solar lights, used for security or accent lighting, often have enclosed battery compartments.
Steps:
- Power Off: Switch off the light or disconnect it from any external power (if hybrid).
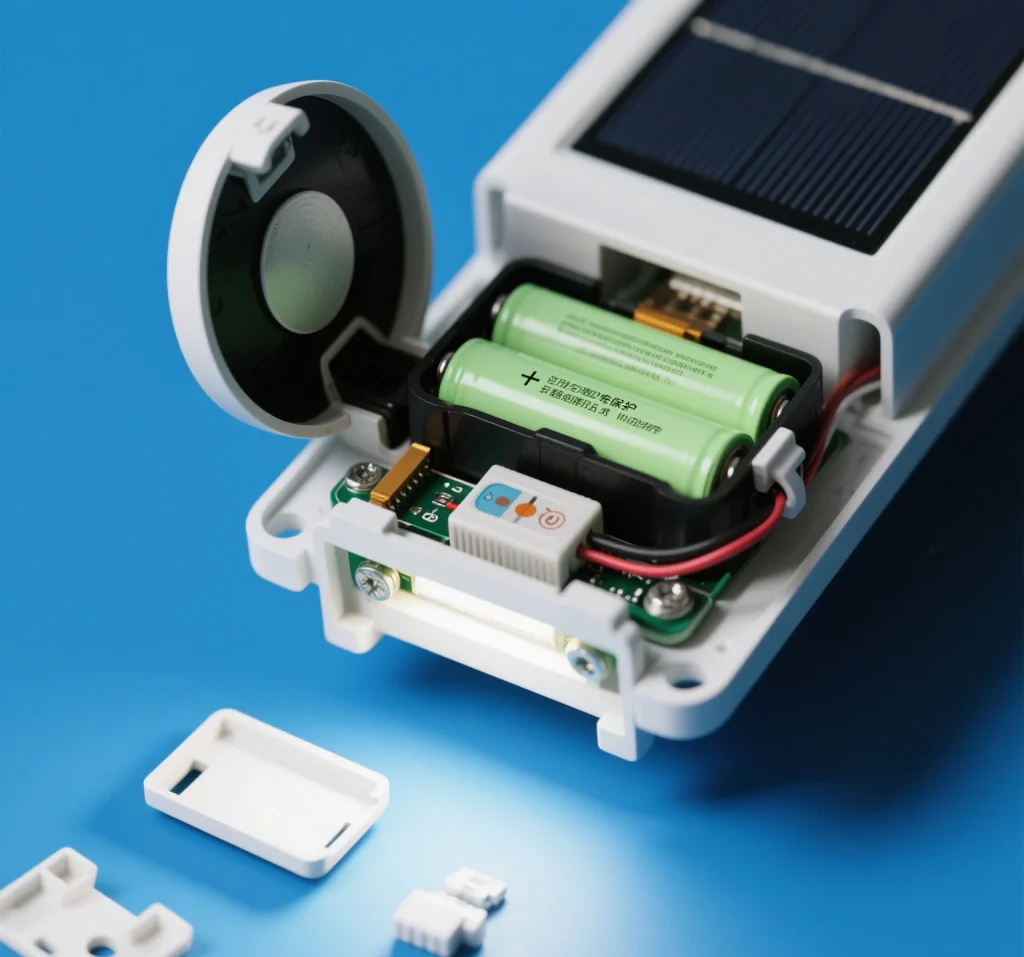
- Access the Compartment: Remove the back panel or cover, often secured with small screws. Use a screwdriver for precision.
- Remove the Old Battery: Locate the battery (typically lithium-ion or NiMH). Unplug any connectors or gently pry out the battery.
- Clean the Area: Wipe the compartment to ensure clean contacts for the new battery.
- Insert the New Battery: Install a matching battery, ensuring correct polarity or connector alignment.
- Secure the Cover: Reattach the cover, ensuring a weatherproof seal.
- Test Functionality: Charge in sunlight for a day and confirm the light works as expected.
Tip: For wall-mounted lights, double-check the voltage (e.g., 3.2V for lithium-ion) to avoid damaging the unit.
Common Tips for Replacing Batteries in Solar Lights
To ensure success across all solar light models, follow these universal tips:
- Match Battery Specifications: Use the same type, size, and voltage as the original battery to avoid compatibility issues.
- Check for Corrosion: If terminals are corroded, clean with a vinegar-soaked cloth and dry thoroughly before inserting new batteries.
- Recycle Old Batteries: Dispose of old batteries at a recycling center to minimize environmental impact.
- Test Before Closing: Insert the new battery and test the light briefly before sealing the compartment.
- Charge Fully: Allow 6-8 hours of sunlight to fully charge new batteries for optimal performance.
Troubleshooting Common Issues
If your solar lights don’t work after replacing batteries, try these solutions:
- Dim Light: Ensure the solar panel is clean and unobstructed. Dirty panels reduce charging efficiency.
- No Light: Verify battery orientation and connections. Check if the battery is charged or defective using a tester.
- Intermittent Performance: Inspect for water ingress or loose components, especially in models with lower IP ratings.
- Short Runtime: Use a higher-capacity battery (within manufacturer specs) for longer illumination in low sunlight.
Maintaining Solar Lights for Longevity
Regular maintenance extends the life of your solar lights and their batteries:
- Clean Solar Panels: Wipe panels monthly with a damp cloth to remove dust, snow, or debris.
- Check Seals: Ensure battery compartments remain watertight to prevent corrosion.
- Store in Extreme Conditions: In harsh winter weather, consider storing lights indoors to protect batteries.
- Monitor Battery Health: Replace batteries every 1-2 years or when performance declines.
Proper care keeps your solar lights reliable and efficient year-round.
Choosing the Right Replacement Batteries
When selecting replacement batteries for solar lights, consider:
- Type: NiMH batteries (AA, AAA) are common for stake and post cap lights, while lithium-ion (e.g., 18650) are used in brighter models.
- Capacity: Higher mAh (e.g., 1000-2000mAh) ensures longer runtime, especially in winter.
- Brand Quality: Choose reputable brands like Panasonic or Energizer for reliability.
- Rechargeable: Ensure batteries are designed for solar charging cycles.
For example, the Bitpott PC-T-001 requires a 2000mAh lithium-ion battery for its 80-lumen output, ensuring bright, consistent performance.
Conclusion: Keep Your Solar Lights Shining
Replacing batteries in solar lights is a straightforward task that restores brightness and extends the life of your outdoor lighting. Whether you’re working with stake lights, post cap lights like the Bitpott PC-T-001, or wall-mounted fixtures, following these step-by-step instructions ensures success. By matching battery specifications, maintaining clean panels, and recycling old batteries, you can keep your solar lights eco-friendly and functional. With proper care and timely replacements, your solar lights will continue to illuminate your garden, paths, or fences, enhancing both safety and beauty for years to come.
Leave a Reply