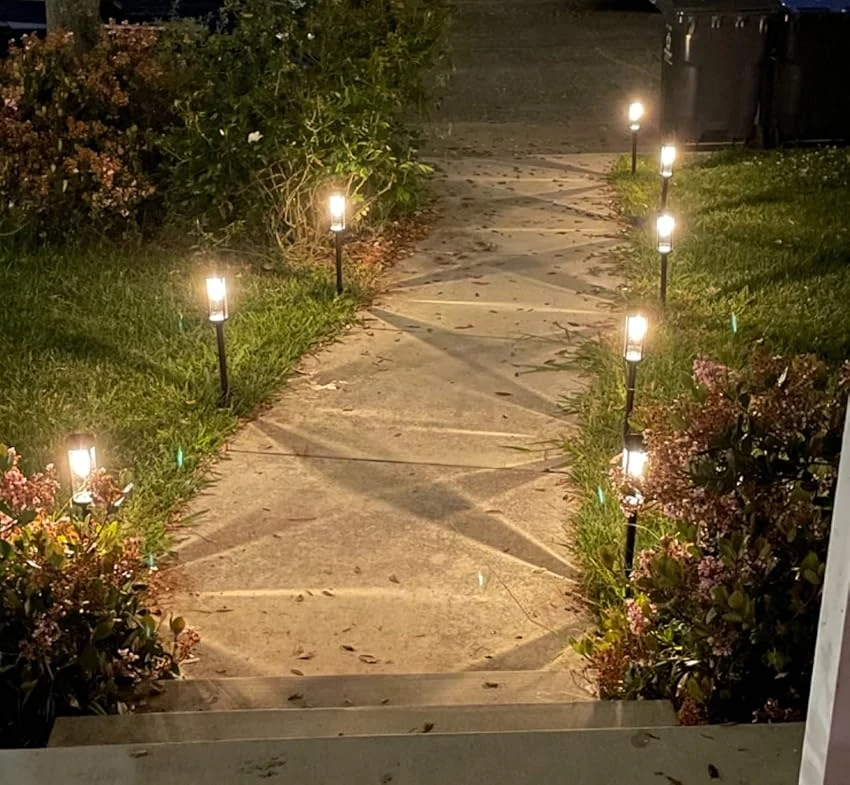
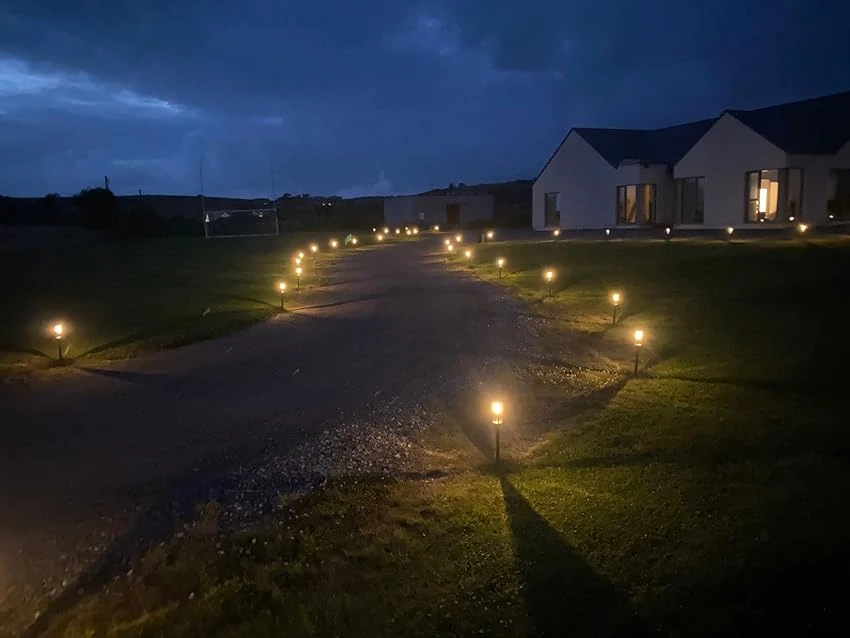
Solar lights are a fantastic way to illuminate your garden, patio, or driveway without adding a dime to your electricity bill. They’re eco-friendly, easy to set up, and powered by the sun—or so we’re told. But what happens when the sun decides to take a vacation behind thick clouds, or your outdoor space is stuck in perpetual shade? Can you still keep your solar lights glowing? The good news is yes, you can charge solar lights without direct sunlight, and there are several clever workarounds to make it happen. In this article, we’ll explore how solar lights typically charge, why sunlight isn’t always necessary, and—most importantly—practical ways to power them up when the sun isn’t cooperating.
Let’s dive in and shed some light (pun intended) on how to keep your solar lights shining, sun or no sun.
Understanding How Solar Lights Charge
To figure out how to charge solar lights without the sun, we need to start with the basics of how they work. Solar lights rely on three main components:
- Solar Panel: This captures sunlight and converts it into electricity via photovoltaic cells.
- Battery: The electricity is stored in a rechargeable battery (often lithium-ion or NiMH) for nighttime use.
- LED Light: When it gets dark, the stored energy powers the LED to light up your space.
Under ideal conditions, solar panels need 6-8 hours of direct sunlight to fully charge the battery. But “ideal” isn’t always reality—cloudy days, shaded areas, or short winter days can throw a wrench into that plan. Fortunately, solar lights don’t require direct sunlight to charge; they just perform best with it. Indirect light, like diffused sunlight on an overcast day, can still trickle some energy into the battery, though at a much slower rate. So, if the sun’s not an option, what can you do? Let’s explore some creative solutions.
Why You Might Need Alternatives to Sunlight
Before we get to the how-to, let’s talk about why you might need to charge solar lights without the sun in the first place. Weather is a big factor—regions with frequent cloud cover or rainy seasons can leave solar lights struggling. Shady yards surrounded by trees, buildings, or fences can block sunlight entirely. And in winter, shorter days and weaker sun angles make charging a challenge, even on clear days. Knowing these limitations, it’s clear we need backup plans to keep those lights glowing when nature isn’t playing ball.
Method 1: Use Artificial Light Sources
One of the simplest ways to charge solar lights without the sun is to use artificial light. Solar panels don’t care where the light comes from—they just need photons to convert into electricity. Here’s how to make it work:
- Incandescent Bulbs: Place your solar light’s panel under a bright incandescent bulb (100 watts or higher works best). The closer the panel is to the bulb, the better—aim for 6-12 inches away. Leave it there for 8-12 hours to mimic a day of sunlight.
- LED Lights: Modern LED bulbs can also work, especially full-spectrum ones that mimic natural daylight. They’re less effective than incandescent bulbs because they emit less heat and a narrower light spectrum, but they’re energy-efficient and worth a try.
- Positioning Tip: Angle the panel toward the light source, just as you’d angle it toward the sun, and avoid shadows or obstructions.
Does it work as well as sunlight? Not quite—artificial light typically delivers less energy (around 10-20% of what direct sunlight provides), but it’s enough to get a partial charge. For example, a small garden light might glow for 3-5 hours after a day under a bulb, compared to 8-10 hours from the sun. It’s a handy trick for emergencies or indoor testing.
Method 2: Charge with a USB Cable
Many newer solar lights come with a hybrid design that includes a USB charging port—a game-changer for sunless days. Here’s how to use it:
- Check Compatibility: Look for a small port or flap on your solar light (often near the battery compartment). If it’s there, you’re in luck.
- Use a Charger: Plug the light into a USB charger, power bank, or computer using a standard USB cable. Charging time varies—usually 4-6 hours for a full charge, depending on the battery size.
- Benefits: USB charging bypasses the solar panel entirely, delivering a consistent, reliable charge regardless of weather or location.
Not all solar lights have this feature, though. If yours doesn’t, you could upgrade to a hybrid model—brands like Ring and Litom offer affordable options with USB ports. It’s a worthwhile investment if you live in a cloudy climate.

Method 3: Swap Out the Battery
Sometimes the easiest fix isn’t charging the existing battery but replacing it with a fully charged one. Here’s how:
- Open the Light: Most solar lights have a removable battery compartment. Check the manual (or just unscrew the casing) to access it.
- Match the Specs: Look at the battery type (e.g., AA NiMH, 3.7V lithium-ion) and voltage. Buy a pre-charged rechargeable battery of the same kind.
- Swap and Store: Pop in the new battery and store the old one to charge later—either in sunlight when it’s available or with a separate battery charger.
This method skips the solar panel altogether, making it ideal for immediate use. Keep a few spare batteries on hand, and you’ll never be left in the dark. Bonus: Battery chargers (like those from Energizer or Panasonic) can juice up multiple batteries indoors using wall power.
Method 4: Optimize Indirect Natural Light
Even without direct sunlight, you can still squeeze some charge out of natural light. Here’s how to maximize what’s available:
- Move to Brighter Spots: Place the lights where they’ll catch diffused daylight—near a window, under a thin canopy, or in an open area away from deep shade.
- Clean the Panels: Dust and grime can block light. Wipe the panel with a damp cloth to boost efficiency.
- Reflect Light: Position the light near a reflective surface (like a white wall or mirror) to bounce extra photons onto the panel.
On a cloudy day, solar panels might generate 10-25% of their full capacity, according to energy studies. It’s not much, but for low-power lights, it could mean a few hours of glow. Patience is key here—think of it as a slow drip rather than a full blast.
Method 5: Use a Separate Solar Panel
If your lights are stuck in a shady spot but you’ve got a sunny patch elsewhere, a detachable solar panel could be your solution. Here’s the rundown:
- Buy a Portable Panel: Small, standalone solar panels (5-10 watts) are available online or at hardware stores. Look for one with a compatible output (usually 5V or 12V) and a cable to connect to your light.
- Connect It: Some solar lights let you plug in an external panel via a USB or DC port. If not, you might need to jury-rig it with alligator clips or a soldering iron (proceed with caution!).
- Place Strategically: Put the panel in a sunny spot and run the wire to your light in the shade.
This method keeps the solar spirit alive while solving location issues. It’s a bit more technical, but it’s perfect for serious DIYers or those with fixed light placements.
Tips to Make Any Method Work Better
No matter which method you choose, these tips can boost your success:
- Test First: Cover the panel with your hand after charging—if the light turns off, it’s sensing darkness and has some juice.
- Store Properly: If you’re charging indoors, keep lights in a dry, cool place to protect the battery.
- Upgrade Gear: Invest in lights with monocrystalline panels or larger batteries—they handle low-light charging better.
- Monitor Weather: Plan ahead for cloudy stretches by charging batteries or using USB when forecasts look grim.
Mix and match these methods based on your setup and needs. Flexibility is your friend!
What About Winter or Long-Term Low Light?
Winter brings its own hurdles—less daylight, weaker sun, and often more clouds. Artificial light or USB charging shine here (literally), but you can also:
- Switch to Low Mode: Some lights have settings to dim output and stretch battery life.
- Insulate Batteries: Cold slows battery performance—keep lights sheltered from freezing temps.
For long-term low-light areas, hybrid lights or battery swaps might be your best bet. Adapt to the season, and you’ll keep the glow going.
Sun-Free Charging Is Possible
So, how can you charge solar lights without the sun? From artificial bulbs to USB ports, battery swaps to clever positioning, you’ve got options. Solar lights are designed for sunlight, but they’re not helpless without it—think of these methods as lifeboats to keep them afloat. Whether you’re battling a rainy week or a shady corner, a little creativity can go a long way.
Ready to light up your space? Pick a method, give it a try, and enjoy the glow—no sun required.
Frequently Asked Questions (FAQs)
1. Can any light bulb charge solar lights?
Bright incandescent bulbs work best, but full-spectrum LEDs can help too—just expect slower charging.
2. How long does USB charging take?
Typically 4-6 hours, depending on the light’s battery size and the charger’s output.
3. Will cloudy days charge solar lights at all?
Yes, but only at 10-25% efficiency—enough for a dim glow on basic models.
4. Can I leave solar lights indoors permanently?
You can, but you’ll need to charge them artificially or swap batteries regularly.
5. Are hybrid solar lights worth it?
Absolutely, especially in cloudy or shaded areas—they’re versatile and reliable.


Leave a Reply